Followers

Monday 28 December 2020

Tidying the Craft Room Scraps

 Hi Crafters

Well this is traditionally the time of year we get to tidy away all the bits in the craft room. Time off from work means we can finally put away all the things we used to make and decorate the presents.

I constantly tidy up my scraps and like most crafters hate throwing anything away, so I get them organised into usable sections

Largest pieces in one poly wallet and then 6” pieces. As well as these I keep long narrow strips and anything metallic or fancy finish. I also have a poly wallet of black, white and cream card.  All these are then stored in one canvas bag that sits under the craft desk, with the idea of going to the bag  first to see if I have appropriate pieces. This rarely works out in practice as we start a project with an idea of what papers we are going to use and the end result is usually more scraps rather than less. So at least once a quarter I get the bag out and make things from the scraps. My next couple of blogs are going to give you ideas of projects to use up the scraps, starting with folders, mini albums and pockets that are made from larger scraps.

Here are the items made in my latest tidy.


In the top picture there are 2 small folder wallets, 2 double pockets and a small concertina file.

Most of these were made with 12” strips folded. I will show you how i made the concertina file.


The first picture shows the 2 pieces of scraps used to make the file. The peach sheet measured 12” x 4 3/8”  and this I scored at 5”, 10 1/8, 10 1/4”, 10 3/8 and then cornered the end.
The second strip measured 12 x 2 1/4” and this I cut 2 pieces at 4.5” along the narrow edge i scored at 3/8”, 3/4”, 1 1/8” 1.5”, 1 7/8” and then folded them for the concertina side panels. As in picture 3.
These 2 panels are then glued to the bottom section of the large piece and a half circle cut in the base line
I used double side glue throughout the project for speed. 

We finished up with a useful file 5” high by 4 3/8” wide that will hold several pieces of cards such as addresses, recipes,receipts, bills etc

The second picture shows 5 money envelopes
6 notelets approx 2.5” x 2”      Ideal size to slip into a pocket or packet to leave a special message for someone
5  notelets 3 x 3” these are useful if you want to just say a quick Hello or Thank You note
1 wallet
3 pockets 
2 double pockets.    Pockets can be used to store receipts etc or to add to pages of journals or mini albums

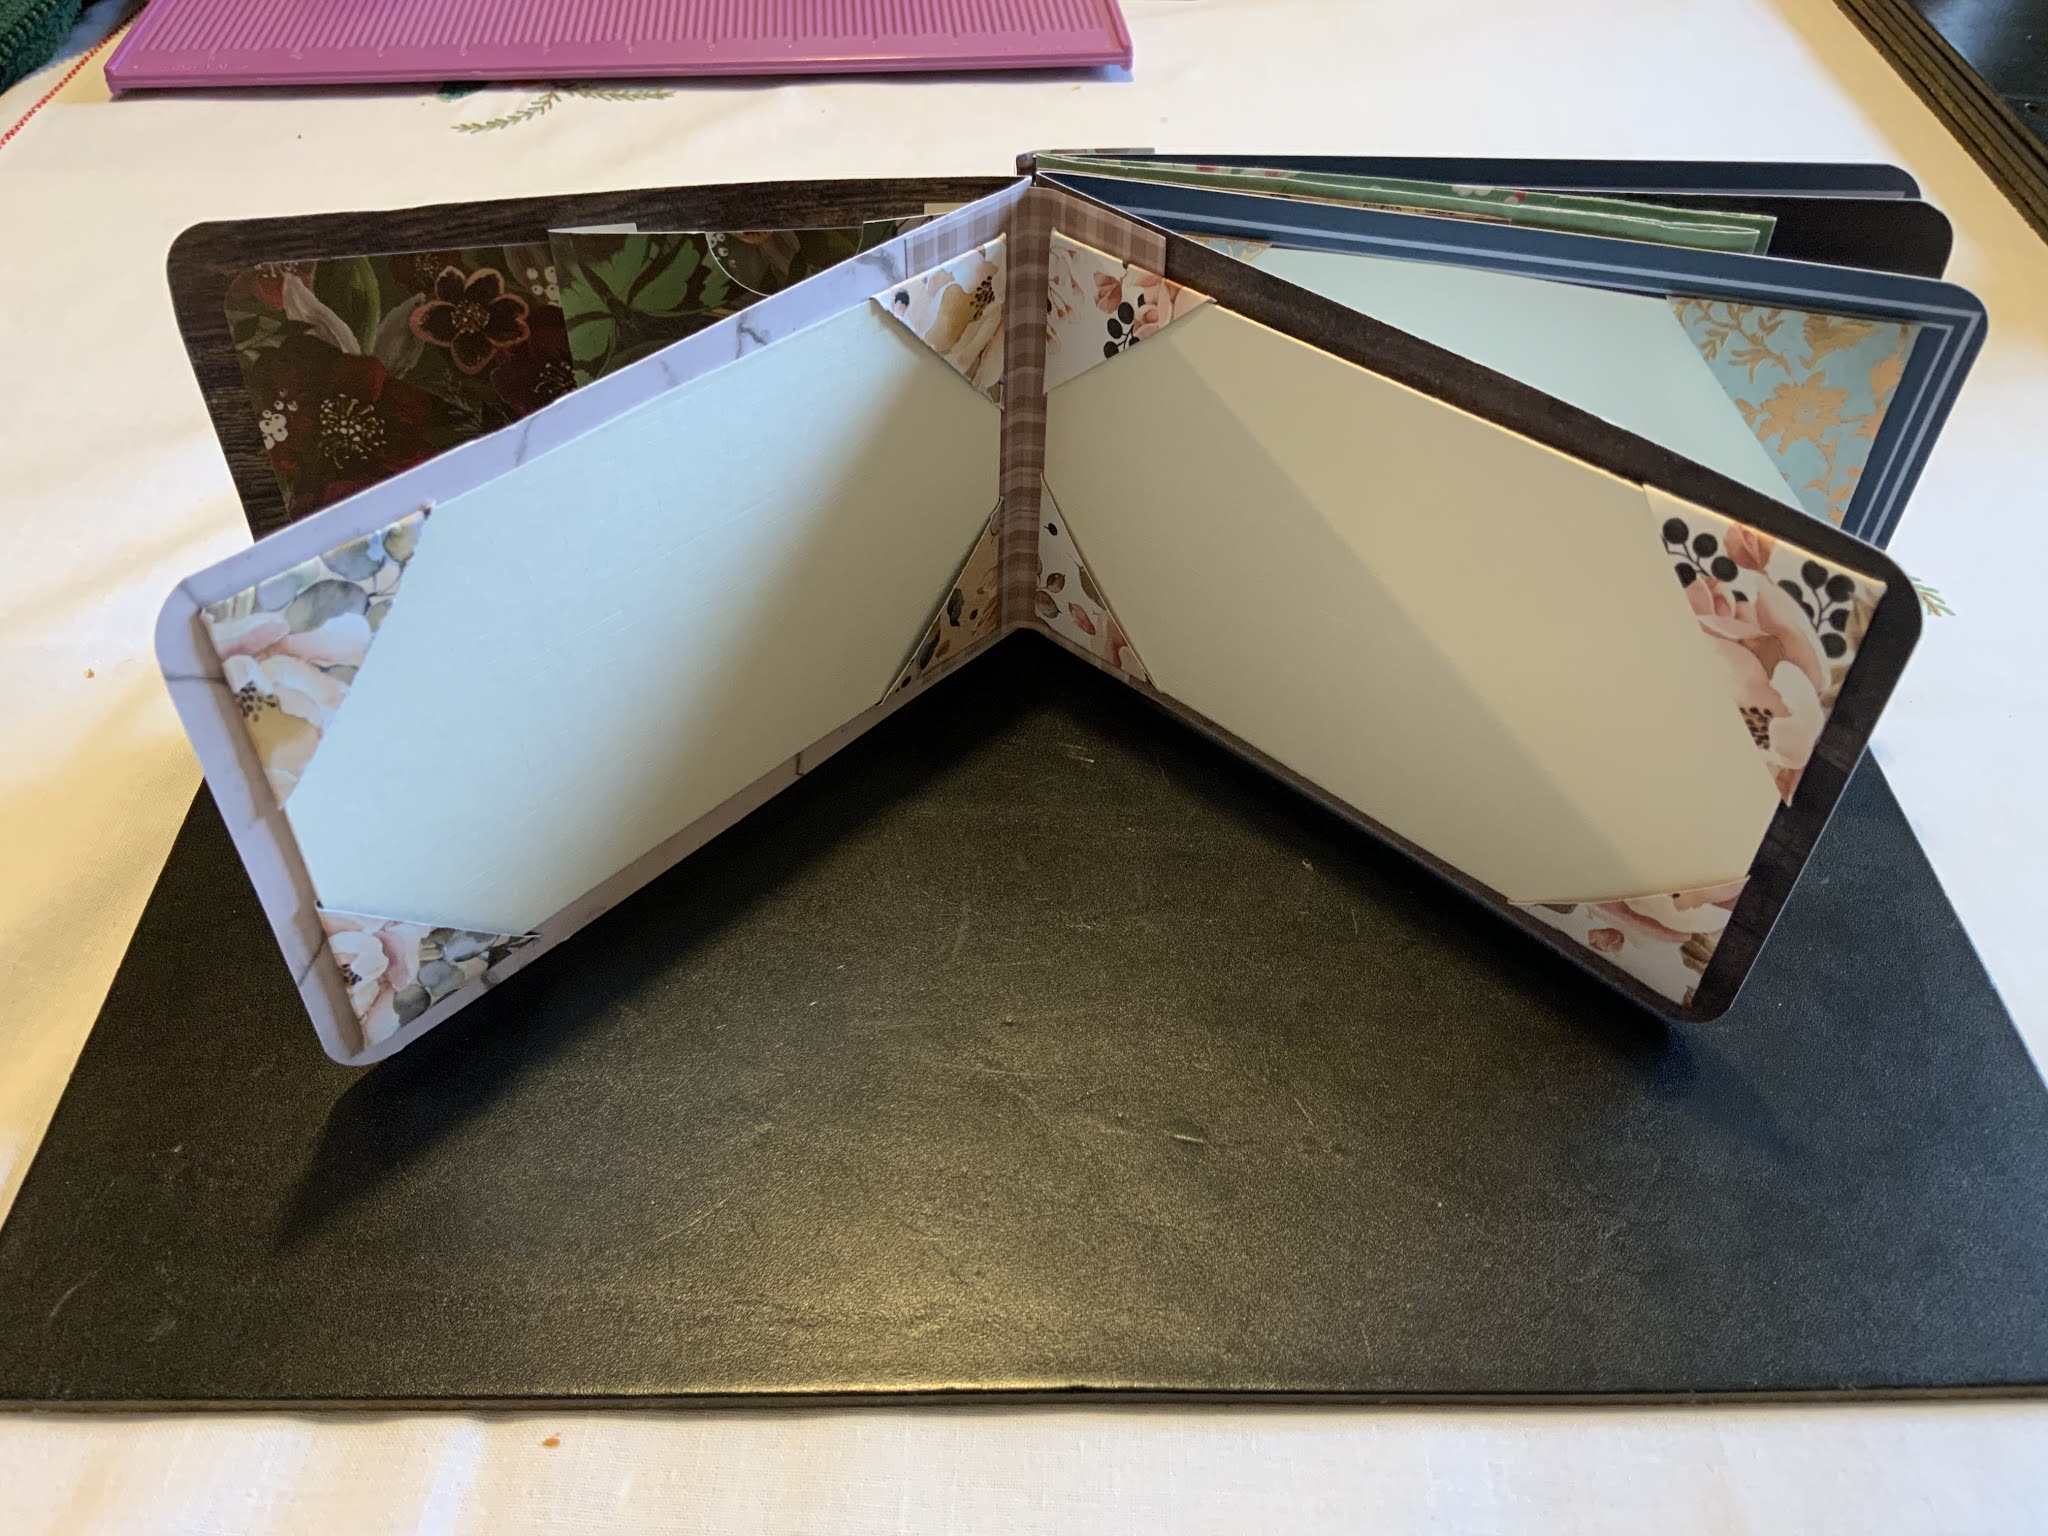
Apart from these makes i managed a very cute mini album from these scraps 
This was made by gathering 6-8 pieces 4” x 12” and folding in half and then building the book with the hinge system. I then used scraps of cream card to make the photo mats, some narrow pieces of pretty card for the phot corners and other scraps to cover the pages and make pockets 


I really enjoyed making these items up and they are ready to send out as Happy Mail to friends and anyone who purchases my items on Ebay.

Back soon with items made from smaller scraps, so keep tidying, sorting and storing your scraps and be sure to check in again for the next list of ideas.

Dee

Sunday 13 December 2020

Christmas Crackers for All

 Hi Crafters

Well December is marching on. Still we are unable to meet with family and friends and Christmas is going to look very different this year

As a member of my local Women's Institute I have been lucky to have the friendship of other members throughout the difficult months and lockdowns. We have had walks and kept in touch with each other, and once the summer was over the committee decided we wanted to give back to our members  during the coming months when we are unable to meet, but still have membership to the organisation.

October we delivered to all members a cheese supper with scones cheese and chutney.

November we produced our own magazine with news from members, County and National, along with recipes, a prize quiz and craft makes, and a tongue in cheek Problem Page.

December we wanted to give everyone a small box of Christmas goodies and decided to present them in a Cracker. So I set about checking out the cracker templates available on YouTube until I found one that I liked and could adapt for the size we required. However making a Cracker large enough for the goodies meant the presents needed to go into a box, or they would be in danger of falling out. So I made a box that fits inside the cracker. I then set about cutting  and embossing the sheets of A4 card for the box and the 12 x 12 sheet of card for the outer Cracker. We have 27 members and were looking forward to getting together to complete and fill the boxes and crackers with a glass of mulled wine and mince pie to keep us going. Unfortunately Lock-Down meant we were unable to do this so Gill and I shared the job of making them up.

And here they are...


The decorations were quite different from the 2 makers but that just added to the interest. The Crackers were then divided up amongst 4 of us for the delivery to members on Thursday 10th December, which would normally be our meeting day. 

If you would like to make these for your family or guests over Christmas here are the instructions for the Cracker and Box 

Requires:

1 sheet of 12 x 12
1 sheet of A4
Ribbon
Outer Decoration
 
For the Outer Cracker
 
Take the 12 x 12 and score @
1 7/8”, 3 ¾”, 5  5/8”, 7 1/2” , 9 3/8” , 11 ¼”
Turn and score both sides @ 2”, 2 ¾”, 3 1/2”,
Fold and Burnish all your score lines
For the 2” side fold concertina style and cut a V notch at each of the down score lines This gives fold lines to shape  the crackers ends
 
For the Box inside:
 Cut the A4 card to 10.5” long and Score @
1 ¾”, 4 ¼” , 6”, 8 ½” along the 10.5” side
Turn and score 1 ¾” both sides of the 8.25” 

Fold up and cut in the side panels to the score line to fold into a box
Cut the top corners off.

I would love to see any of your crackers 

Happy Crafting
Dee
 

Sunday 6 December 2020

Something for Nothing

 Hi Crafters

Today I have something different for you to try. You need nothing more than toilet paper, water, embossing folders and your favourite dies to make 3D embellishments and toppers

Take 4/5 pieces of toilet paper and fold them over. As you are folding spray the paper with water, and let it get absorbed into the paper as evenly as possible but not too wet

Take an embossing folder and place the dampened paper into the embossing folder and put through your machine, I chose a snowflake folder as I wanted to use it for Christmas shapes.

Allow to dry and then use the paper to cut out your shapes.


You can then decorate and use the shapes as they are as they make great embellishments, with lovely dimension, not flat like card. 


I would add these to cards or parcels 

Or layer them with your glue gun or silicone glue to make 3D toppers 


Here we have 2 flat bears and one that will actually stand up as the centre points have been glued leaving the legs to spread and make a standing position.

These die-cuts are not only good for Christmas shapes but lovely for flowers and butterflies as the paper can be delicately coloured while the paper is wet, for a subtle, soft look. 

This is a quick craft session and suitable to try with the children. You could even make bunting with the cut out shapes, or if using snowflakes or small die cuts why not add them to some sparkling ribbon and drape around the tree.

Stay safe and enjoy your crafting.


Dee