Followers

Friday, 2 August 2019

Envelope Folder -Using Your Papers Stash Project 9


Hi Fellow Crafters

We are nearing the end of the Series Using up  your paper/card stash
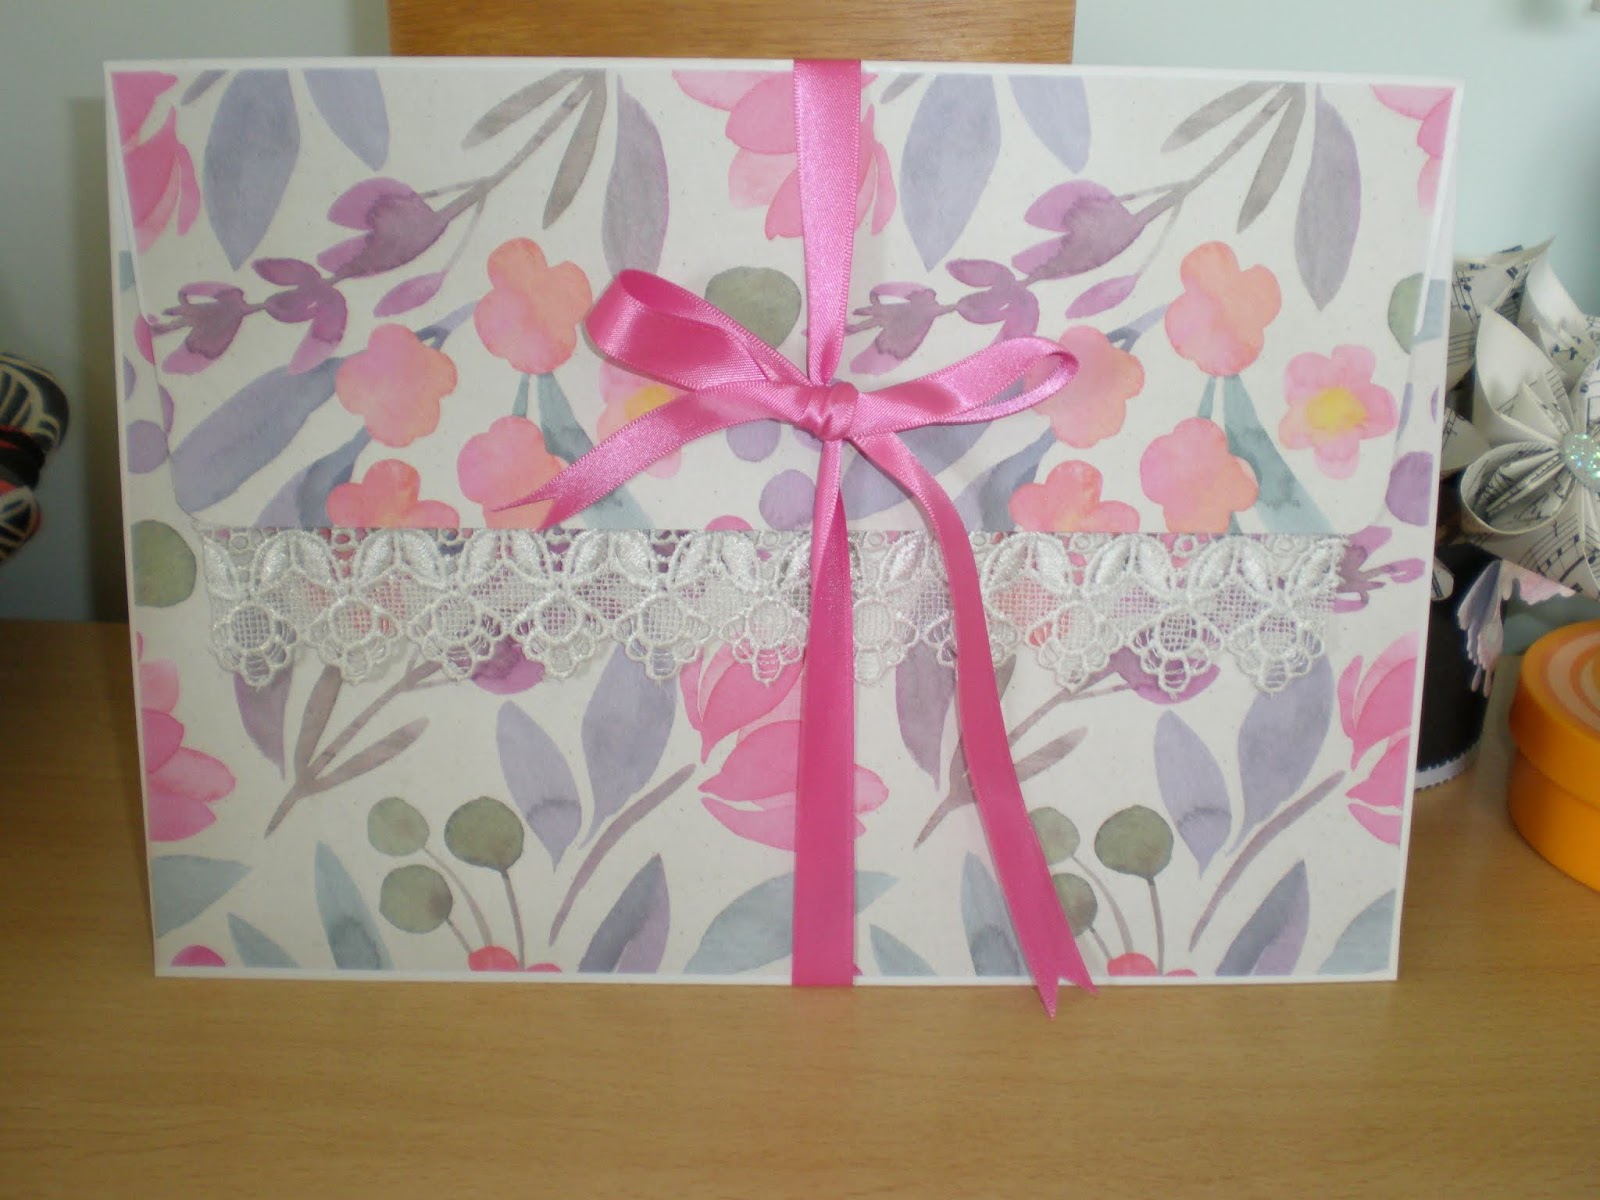
This is Project 9 and it is all about using 12 x 12 pages to make envelopes and then joining the envelopes to  make a folder.


To make this you will need 
4 sheets of 12 x 12 card 
an envelope maker 
coordinating papers if you want to build the folder into a memory book and not just use it for storage.
a fastening.

Make 4 envelopes from the 12 x 12 sheets and using the flaps slot them into each other 
Use the last flap to go over the folded envelopes, as a closure. Score 1cm from the top to give it a binder allowance and use a heavy magnet or button closure to hold in place.

I have used vintage papers to cover the envelope seams but if you use pretty card stock that coordinates you may not need to do this.

Dee

Thursday, 1 August 2019

We Have A Winner

Hi Crafters

 I am delighted to announce that the winner of the Goodie Bag (for subscribing to my blog during July is Julie.

Julie, (you know who your are), if you would like to email me with your details I will send you the items you have won. Please claim before the 31st August 2019 to get your prize.

For everyone else who reads this blog watch out for future opportunities to win a Crafted Item from Dee's Designs. All followers will be placed in future drawers, with the exception of the previous winner, so you will not miss out by subscribing at any time, plus you can comment on my posts and ask  questions.

Dee

Wednesday, 31 July 2019

Last Change to Subscribe and get a chance for the Goodie bag

Hi Crafters

Today is the last day for anyone who would like the chance to win some crafted items shown on my blog. Simply click on the follow button at the top of the page to be added to the drawer. The drawer ends tonight at midnight. 

Although the blog has had 190 views in the last month only 2 of you have subscribed and so the chances of winning are currently very high. 

In case you were wondering the bag now has the following items inside

Shabby Chic Folder
Covered Book
3 Star Die Cuts 
Mini Album  with Santoro Gorjuss papers
2 x Matchbooks
Triangular Box
TeaTime Treat holder

Good Luck 

Dee


Tuesday, 30 July 2019

TeaTime Treat - Using up your Stash Project 8

Hi Crafters

Today I have a quick project for you in my series using up your stash. I came across this whilst clearing out some craft boxes and I had made a bunch for a craft fayre. I had originally used them to give jewellery gifts, but I think if I was going to make them again I would add teabags and a treat (biscuits or chocolate) as it would sit well in the little carton

As it uses 8 x 8 papers I thought it would be ideal for this series.


As you can see the front has a crossover section that takes a card 
The back is the same and this is where you can add the gift.

To make this you need one piece of 8 x 8 card
some scraps and decorations 
1 piece of ribbon


On the left side top corner Mark the card 1 1/4" & 51/4"  across and 1 1/4" & 5 1/4" down 
On the opposite right  side bottom corner mark 1 1/4" and 51/4" in  and 1 1/4" & 5 1/4" up

Put the card onto a score board in a diamond shape and score the marked 1/1/4" lines down either side of the top point 
Turn the card 180 degrees and score the 5/1/4" lines down 
Burnish all the score lines 
Putting the card down in a diamond shape again - fold in both sides . The points should sit on the scored line 
Once they are folded in, tune over and fold up the front and back, this will give you the cross-over front and back 
Punch a hole in the top of both sides  and thread through a piece of coordinating ribbon to hold it together and decorate 
Cut a piece of card 3 3/8" wide and 3" tall 
Decorate the top - this can be used to send your message
Use the flaps front and back to add your gift

Ideas for packaging
Brooches
Teabags and biscuits
Notelets etc
Dee

Sunday, 21 July 2019

Envelope Folder - Using up your stash Project 7

Hello Crafters

Back today with another quick project to use up your stash.

I had A4 envelopes left over form some large cards I had used for some other projects, but if you do not have these you could use a good quality A4 envelope .


Required
A4 Envelope
2 sheets of 12 x 12 card
1 piece of lace to edge the flap

Measure front and back and cut pieces of card to cover , leaving a small border
Measure the flap and cut 2 pieces to match the shape, although they can be longer than the existing flap.
Glue one piece on and cut and glue with Pritt stick or hot-glue gun to the lower edge of the flap
Glue the lining piece of card over the top

It is easiest to use ribbon to close the envelope as this allows for some expansion and is less likely to rip than adding pins. You could use a large magnetic clasp but this needs to be added before completing the flap, to allow the back of the clasps to be covered.
 As I love pretty stationery, this will be a welcome addition to my writing papers or I may use it to store my store vouchers or bills.

As these can be made very quickly you could make half a dozen to store your craft stickers etc or wrap the stack with ribbon and give to a crafting friend. 

Saturday, 20 July 2019

Simple Triangle box - Using up your stash Project 6

Hello Crafters

I have been busy making paper flowers and perhaps I will show some in another post but today's craft is a simple triangle box to use up your stash of card 
These can be made any size but the usual formula is 2/3 of the width as the length
So using a 12 x 12 paper cut to 8 x 12 
Fold in half along the 12" side and mark the half way (4") along the 8" side top and bottom Score from the centre fold outside edge to the marked middle at the top and bottom on both sides 
This leaves a diamond in the middle with 4 corner flaps

Fold in half and fold the side panels over each other to form your triangular box   
Punch holes in the centre of the side panels where they cross over and thread ribbon through as a closure.

Decorate the front
I have used paper flowers and ribbon that matches the bow at the top on a scalloped circle.


These boxes are great for little gifts. this one measures 8" along the bottom and 7" on the sides and would hold nearly a small box of roses or several small bars of chocolate, a scarf etc, and I made this (without the decorations) in just 10 minutes.

Very handy to have ready to use for that last minute present as they can be stored flat.

This one will be added to the goodie bag, good luck to anyone who subscribes to my blog before the end of July. 

Saturday, 13 July 2019

Matchbooks - Using up your Stash Project 5

Hi Crafty Friends

Just a quick little project today No 5 in the series of Using up your stash.

This is a little different as it really uses up those odd pieces of card you pop under the desk or in a box when you are making a batch of items,(because they will come in handy one day).
It is called a Matchbook as it resembles the card folders that hold matches and fits into pockets and handbags in the same way
This idea came from Scrimpingmommy.com via Youtube.

It really is a great way to use up the scraps in your box and to have something to give away, or swap with other crafters, or a little something to Hi, or thank you.


You will need: 

Some notepaper
Strips of card at least 6cm wide and 10 - 12" long (sorry but these were the measurements I used,  I flit from cm to inches all the time)
a small tag punch or die
some embellishments (again i used some items that had been in a caddy on the desk.


  • Get your scraps out the box and sort into useful pieces for the matchbook base and then pieces that you can cut the tag from that will coordinate.
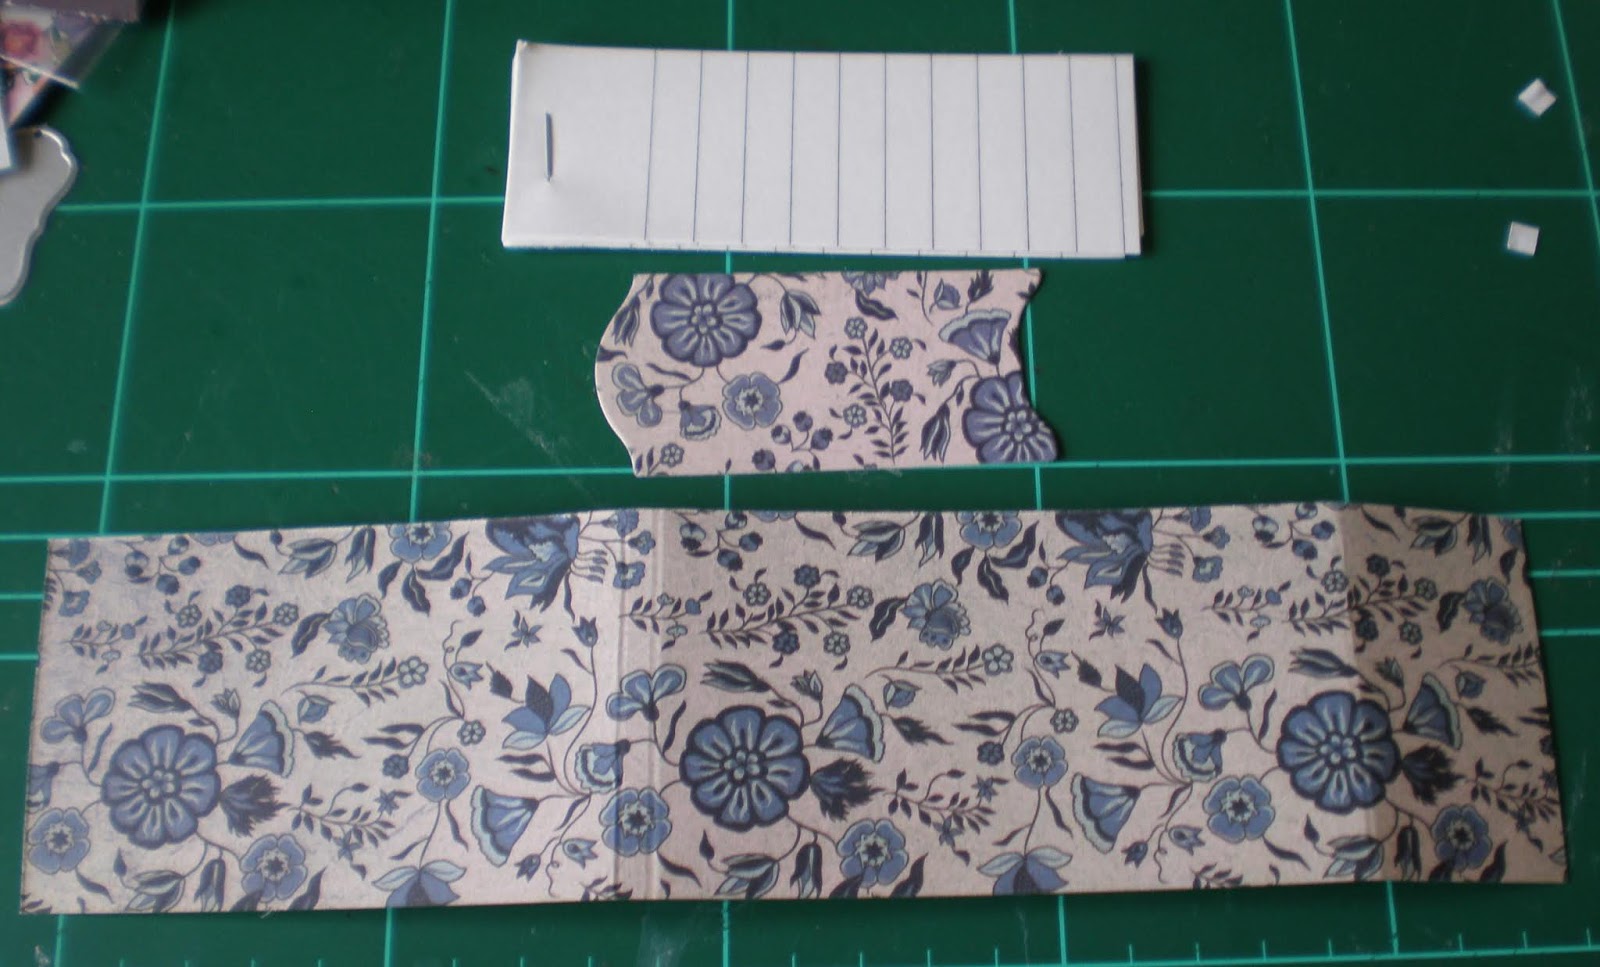
  • Start with making some small notepads by cutting up your notepaper into strips approx 4cm wide the finished pieces need to be about 9-10cm long, I folded over strips from a  shopping list pad until I had 20 pieces to write on and then staples them together 
  • Next cut the strips of card 25cm long and 6cm wide, and score at  10cm 10.5cm and 21.5.


Round all the corners 
Glue the base of the mini notepad you have made and stick to the middle section of the matchbook
Put dimension stickers to the top section of the tag  
Fold the bottom section up over the notebook and position the tag with the unglued area over the flap end 
Decorate the front with any bits you have in your stash 

You can do these quite quickly and it helps to tidy the craft room at the same time.
Oh and of course there will be a couple added to the goodie bag for anyone subscribing to my Blog before the end of July. Simply click on the FOLLOW button at the top of the page. Happy Crafting
Dee