Followers

Wednesday 19 February 2020

Using Your Scraps up Week 3

Hi Crafters

Over the last couple of weeks I have talked about crafting with your craft scraps.
Save money and make the most of your tools and paper by making sure the scraps you store, get used on your projects.

Today I am using the medium or smaller pieces in the left side of the sorted picture.

The most obvious use for these pieces is with your dies and to ensure that these pieces get added to your future projects, choose dies that are generic.

I have used them to cut out flowers and bows. The flowers will be used quite quickly when making my next birthday cards, Mother's Day card etc, while the bows can be added to parcels as well as large cards.


The Bow die is quite fancy and requires each pieces to be cut twice, so 6 pieces in all to make the bow, a little time consuming but worth it for the fancy bow it produces and I add these to my gift bags.


Double bow                                                      Single Bow

Another great use of this size  of scraps and also uses scraps from your basic colour pile, are greetings.


Using my basic layering dies I cut a lot of cream and white bases and stamped "Happy Birthday", these are the greetings I use most and I like them layered and slotted into the front design.

I then cut the next size up from patterned scraps and layered them 


An afternoon well spent and these are real cute and ready for my next card making session.

Other ideas include: 
small money envelopes
mini boxes 


By using 2 dies together you can double your number of cuts each time you use your machine

Monday 10 February 2020

Using Your scraps - Make Together Tuesday

Hi Crafters 

Here we are in February and  I have been crafting madly this year, already , this has made lots of pieces to add to the scrap box.

Last year I did a series on using up your scraps, as ideas for using up your scraps are so useful, I thought  I would run another series during February, and expand on the ideas from last year.


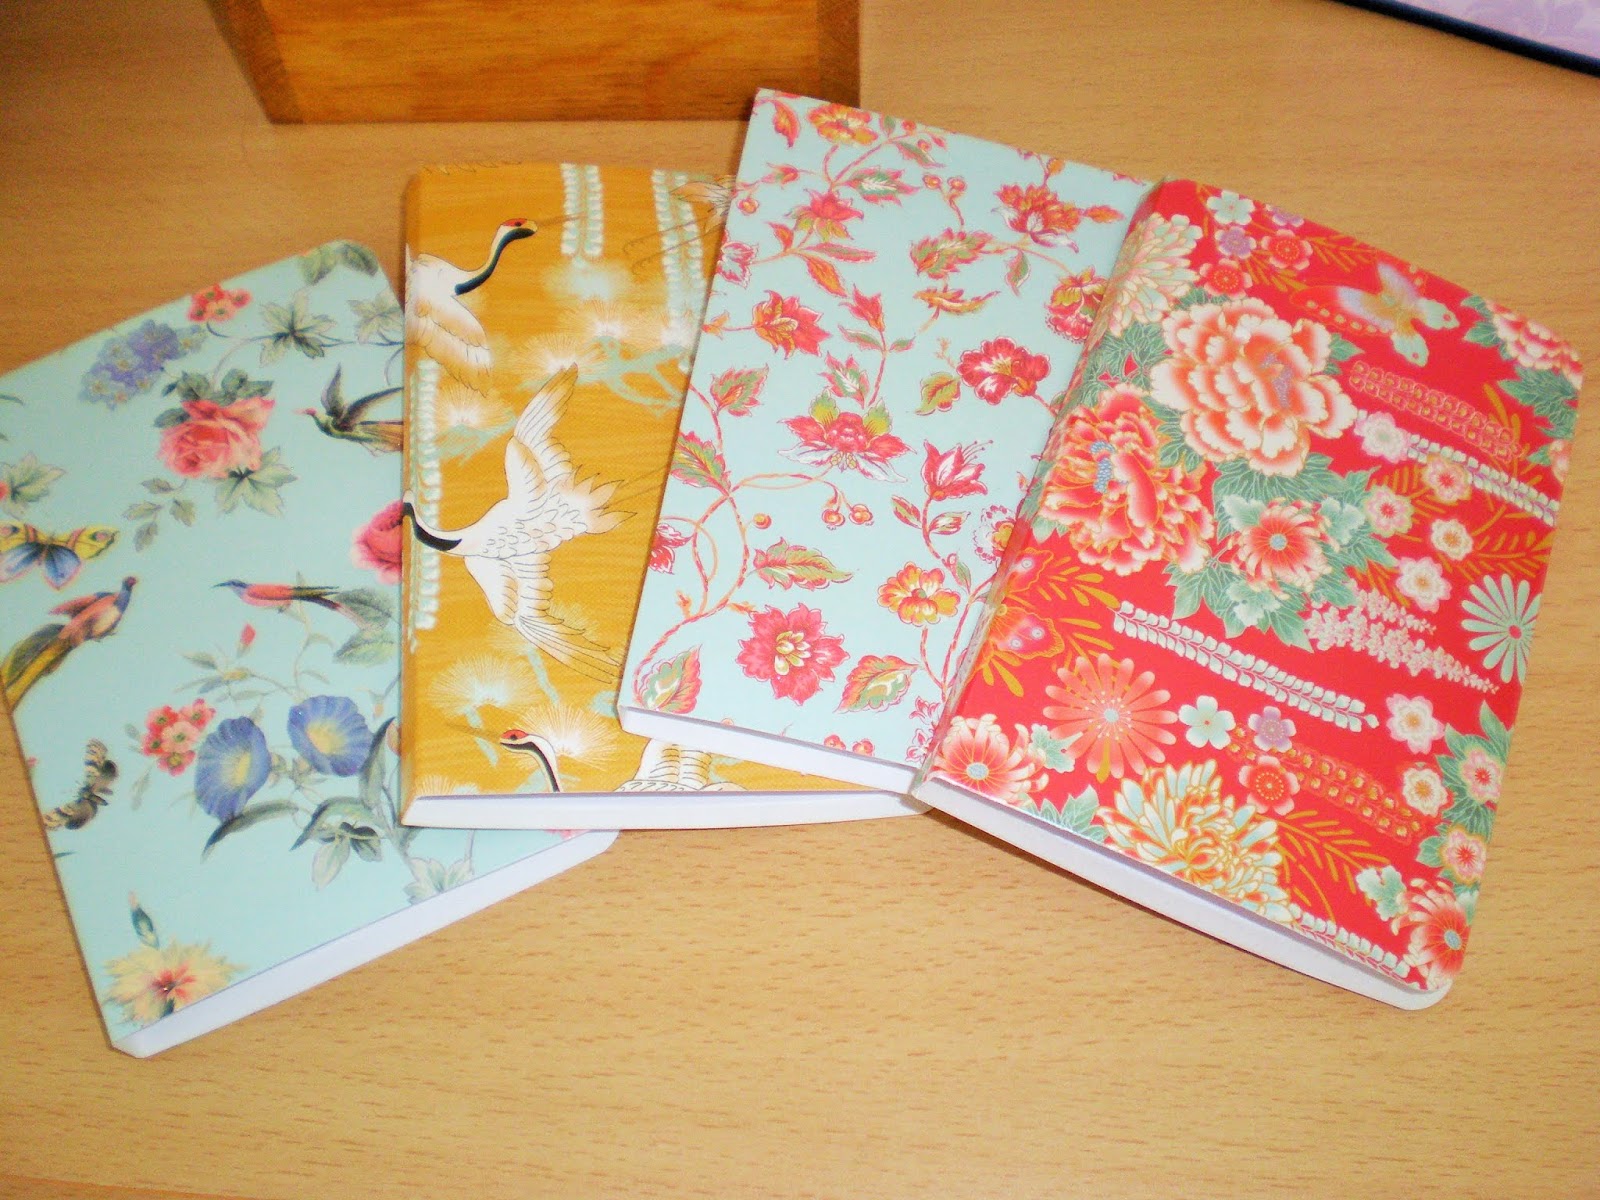
Brag book, binder strips and bows 


First I start by sorting my scraps into piles.
How they come out the scrap bag

Sorted into the piles for use


These consist of:
Long Strips
Large Pieces
Smaller pieces up to 10cm 
Kraft Card and heavier card 
White, Black, Gold and Silver card 
Christmas card

These are all put into their own polypage and then into a scrap bag 

The first section I am going to be working with is the long strips
These have come from 12 x 12 pages when I have been making my scrapbook or other projects 

The main makes with these will  be 
Mini Brag book and Beautiful Bows 
For the Brag Book 
  • I took 2 of the wider strips that measured 8cm wide and 30cm long
  • FOlded them in half and then into the centre of each piece so they were concertina style.
  • I then placed one on top the other and glued together 
  • Taking 2 pieces of scrap heavy card I cut to 8.5cm square and covered them in pretty coordinating papers (again from my scrap pile) You only need to cover one side, gluing down on the reverse
  • Glue a piece of ribbon to the middle of the front section and to the middle of the back section to use for ties   
  • Then Glue one of your card square to the front and one to the back

This makes a pretty little brag book that will hold 12 small photographs and fit into pocket or handbag.


Selecting strips


booklet made and Kraft card selected for covers


Completed Book

Next I took the smaller strips and made paper bows, these are so useful for all your boxes and bags or to decorate your paper projects I am happy to make a big batch.

There are several tutorials on YouTube particularly for making them using your WeRMemory Keepers Envelope maker. I have one but I prefer to make them freehand as they are so simple.

  • Take a strip approx 2cm wide by 30cm long but you can use any length from 20cm just narrow the strip accordingly
  • Fold in half and then fold each end up to just below the centre fold
  • Cut fan tails in the 2 open ends of the strip while they are together 
  • Run a bone folder or sissors along the centre pieces to bow it a little.
  • Add a small piece of red (strong) double sided tape to the centre fold on the back of the strip and fold the bowed area so the fold half way down sits to the centre line on both side  
  • Add some double sided tape to the middle of the back and decorate the centre of the bow 


So lots of lovely bows from your scrap pieces.

Other ideas include 
1. Binder strips - 3 strips of 3 different sizes with a 1cm scored centre. Glue together and use for scrapbook and mini album spines to add pages to your projects 


Here are some I made from my strips and I will store them ready for use.
2.  Rosettes to decorate your cards and projects and to add your greetings
3. Photo Corners 

Next week I will use another section of the Scrap pile to recycle into projects so be sure to drop by and check them out 

Happy Crafting 
Dee

Thursday 6 February 2020

Great Little Card to Say hello, Get Well, Thank you etc

Hi Crafters

I have recently cleared out some drawers and boxes in the craft room and came across some sample cards I made that hold small bars of Chocolate

These are not a new idea and for the bigger bars there are Youtube videos.

My cards hold a small bar of chocolate that I love from Lidl, they come in white, dark and hazlenut, my favourite is the white and I usually have them in the house, although they are a temptation for sure.

I will be honest my cards are too flimsy and I should have stopped at one card, but I loved the idea so much I made about 10. So I am adjusting the instructions for you

You will need a sheet of A4 card white or cream 200gsm or more
Cut a strip 16cm deep and using the full width of the card.
Along the long side score at 10.5, 11.5, 21.5, 22.5, 28.5, 29.5
Turn and score up to the 21.5cm scoreline at 1,2cm each side of the card (this section form the box.

At the 21.5cm score line cut down with scissors to the 2cm line either side
Now dols and burnish all your score line
Round the corners at all four corners of the main card and on the outer edge of the box.
Cut the 2 1cm corners off the far right side of the card and then cut down to the 2cm line to make the box flaps
Fold the box over and glue down the sides leaving the end 2cm flap that will hold the chococlate in place
Decorate the front of your card and add the greeting of choice

 I am taking one to a friend as a get well card, and they would make perfect Thank You cards or Hello.

Useful to have a small stash (but don't eat the bars) for visiting etc.
Dee