Followers

Sunday 31 January 2021

Another Stationary Set - Using up my stash

 Hi Crafters


Just a quick post today as I finish January with more items made from my stash.

Another Stationary set, this time made from 12 x12 stash of papers by G.C.D. Called Paris Nights. 
This has a lovely mixture of baroque prints and Paris scenes, with some flock papers.

This is same set as I made before but this one has a smaller clipboard as I was using up the remainder of the board piece used for the first set.


You can see the flocked papers that I have used to make the cards giving them a luxury finish. 
And then the envelope folder has been made from one of the baroque style prints with the notebook covered in the Paris scene.


I am really enjoying using up the stash and will continue with this idea. I am intrigued to see how long it is before I purchase anything new other than crafty items such as tape and fastenings. 

Are you taking this journey with me or are you bored and fed up so treating yourself to new dies, stamps and papers???

I would love any comments or questions, please subscribe by clicking on the Subscribe button at the top of the page and then you can message me with your thoughts or any subject or craft item you would like me to consider.

Dee


Friday 29 January 2021

First Card of the New Year


Hello Crafters

Following on from my post on the 21st January where I chatted about my crafting plans for this year, I am sharing the card I made using my new approach

As a reminder this was all about using up my stash, and looking at what was in the craft cupboard and then designing my crafted piece with my stock items.

 The first item I required this year was for my sister, and so I decided I would use my Anna Griffin items. Once that decision was made it was a case of thinking about the design. I have kits of Anna Griffin cards that I could have used but decided to put a little more into this card (as my sisiter crafts too) and make an easel card. 


To make this card you need:

1 sheet of 12 x 12 card
1 sheet of A4 mirra card
Anna Griffin 3D Flowers 
A Greeting (I used one I made with AG background papers) 
Anna Griffin easel card dies 
scrap cream card for the personal greeting base

I cut the easel card from the 12 x 12 sheet of Ann Griffin card, had I used paper weight I would have cut out the base card using 250gsm basic card stock first, but as I had card stock I used this.

I cut the layering mat from the mirra card and this die is part of the die set. I then layered the flowered around the mat frame and added the greeting. For the base I simply added some dimension foam to the back of the frame cut from a seperate die from my stash, you can use any of your small frame dies for this part 

These cards fit into an A5 envelope and it is ready to go.

Back soon with more ideas on how to use your craft stash. 

Dee


Thursday 28 January 2021

Buying from China in 2021

 Hi Everyone

Whilst my blog usually has pictures and designs for paper crafts, today I would like to talk about buying from abroad. 

Now that the Uk has left the European Market, if you purchase from abroad you will need to be aware that items purchased from a country in the EU could incur additional duties. Long established businesses may show any tax due on the invoice, but what if you are buying from a small business that has not geared up to sell to the UK market from 1st January 2021. Check out google for tales of additional  payments required when items reached the UK buyer, and you will quickly see it makes sense to know what duties are due and whether you have paid them at source or will be expected to pay them when the goods get to you. It would seem there is an additional cost if the Post Office collect the duty on behalf of the government and should therefore be avoided if possible. 

Added to this I found that any items I wish to purchase from AliExpress from the 1st January will incur an additional charge for VAT of 20%. The rules use to be any item under £15 was exempt but as the Uk have now agreed with China that ALiExpress is the seller not the individual stores, it would seem they are taking no chances and charging VAT on all items sold. 

If like me you add things to your basket and then click on the items you wish to pay for to get the total and then pay, what happens now is the total of the goods in the basket will come up and then when you click to pay the new total including VAT will appear for the payment amount. I had a selection of items in my basket totalling £44.65, and when I pressed to pay the total became just over £53. It took me some time to find out why, and then I had the job of going back through my items to see if the price for each item with the VAT added still provided me with the best price available on the web. I do not leave my credit card on my account and so it was quite easy for me to spot the additional tax, not so sure if this is the case if it is one click shopping.

As it happens I continued with all my purchases, but yesterday when I was looking at purchasing some additional brads the VAT made a difference, as the end price became £1.30 for 20 brads. Whilst this was not expensive for the pretty choice available, the thought of waiting for the items to arrive with very little saving made them less desirable to me.

Just something to think about, and another reason to consider your purchases.

Happy Crafting

Dee

Tuesday 26 January 2021

Using Up Your Paper Stash

 Hi Crafters

Well with my New Years resolution to clear out and use what is in stock, I decided to make a Stationary gift Set. I had some hardboard purchased for album covers and plenty of card stacks so thought I would make a great collection of Stationary items, starting with a clipboard. I covered the clipboard with some lovely papers from “The Riverbank” by Hackney & Co Premium Collection, which are all double sided papers, and then used matching papers to add 6 cards and envelopes. Next I covered a little notepad and finished it all off with an envelope folder and some notelets.

All of the items  I have made before, but putting them all together and planning them as a set was something new. I also had some clips I had made and one of them was a lovely wooden clip with a deer on it that went beautifully with the paper used to make the set. 

Here are some pictures of the set and the items that made up the individual pieces.


The clipboard with wooden clip 


 Envelope file and note-lets and the covered notebook


I then stack the set together on top of the clipboard, tied it up with matching ribbon and it will be presented in a cello bag, with a bag topper. 

For anyone that likes stationary this is a great mix of items all of them pretty and practical, the folder and clipboard can be used even after the other items are finished. 

I liked this set so much and enjoyed making it I decided to make another set with papers from G.C.D. Studio called Paris Nights. Will post pictures of this tomorrow.

Dee

Thursday 21 January 2021

New Year and Where is My Crafting Going to Take Me

 Hi Crafters

Today’s post is all about where my crafting is going in 2021. 

I really enjoy my paper crafts and am very grateful to all those crafters and artists who share theirs ideas, templates and makes, on YouTube, Pinterest etc. But having said that I am at a loss what to do with my makes. I make cards for family and friends. In the past I have held workshops, and I have widened my crafts to gift bags, boxes and now albums and journals. Like a lot of crafters I have bought more and more dies, stamps, tapes and tools wanting to try the latest designs and ideas. I have purchased in large amounts because I do Workshops where I need enough for 10 to 12 persons, or occasionally a little craft session for my WI for 30, so my paper stash particularly has mounted. But the more I buy the less I seem to use as the boxes get too full to find anything easily. I destash regularly but buy even more regularly and without craft fares and meeting up with friends and WI I have no outlets for my excess. 

So I have thought a lot about what I want from my crafting, and decided to try to clear, consolidate and bring my stash down to a place where all my boxes in the cupboard are easily accessible and when I want to make something I know just where to go to get the items I need . I have managed this with my knitting and sewing items so why not my paper crafts. Also what am I going to make until such time as we are able to get out and about again. 

I look at the TV Craft shows and whilst I recognise these artists and businesses have a living to make, it seems that sales have taken over the shows with packages regularly being marketed at £100 plus. I have to ask myself what are people doing with all these packs they are buying. Is it piling up, or are they producing 20-30 cards a month to use up these packages. But even if the packs include a full set of dies, some papers, or stamps, dies and charisma designs which need printing out there are always other items needed to complete the make, maybe the printing, or card stock and envelopes. We then work hard to reproduce the beautiful cards that have been made by the design team on the shows and feel downhearted when ours do not match up. 

I have therefore decided to go back to basics. Take what I have learnt over the past 15 years and use it to design and make my paper crafts. If I need a Birthday card I will:

think about the person I am making for

Select suitable stamps and dies 

Decide the design that suits those stamps and dies and get the items out necessary to make the item

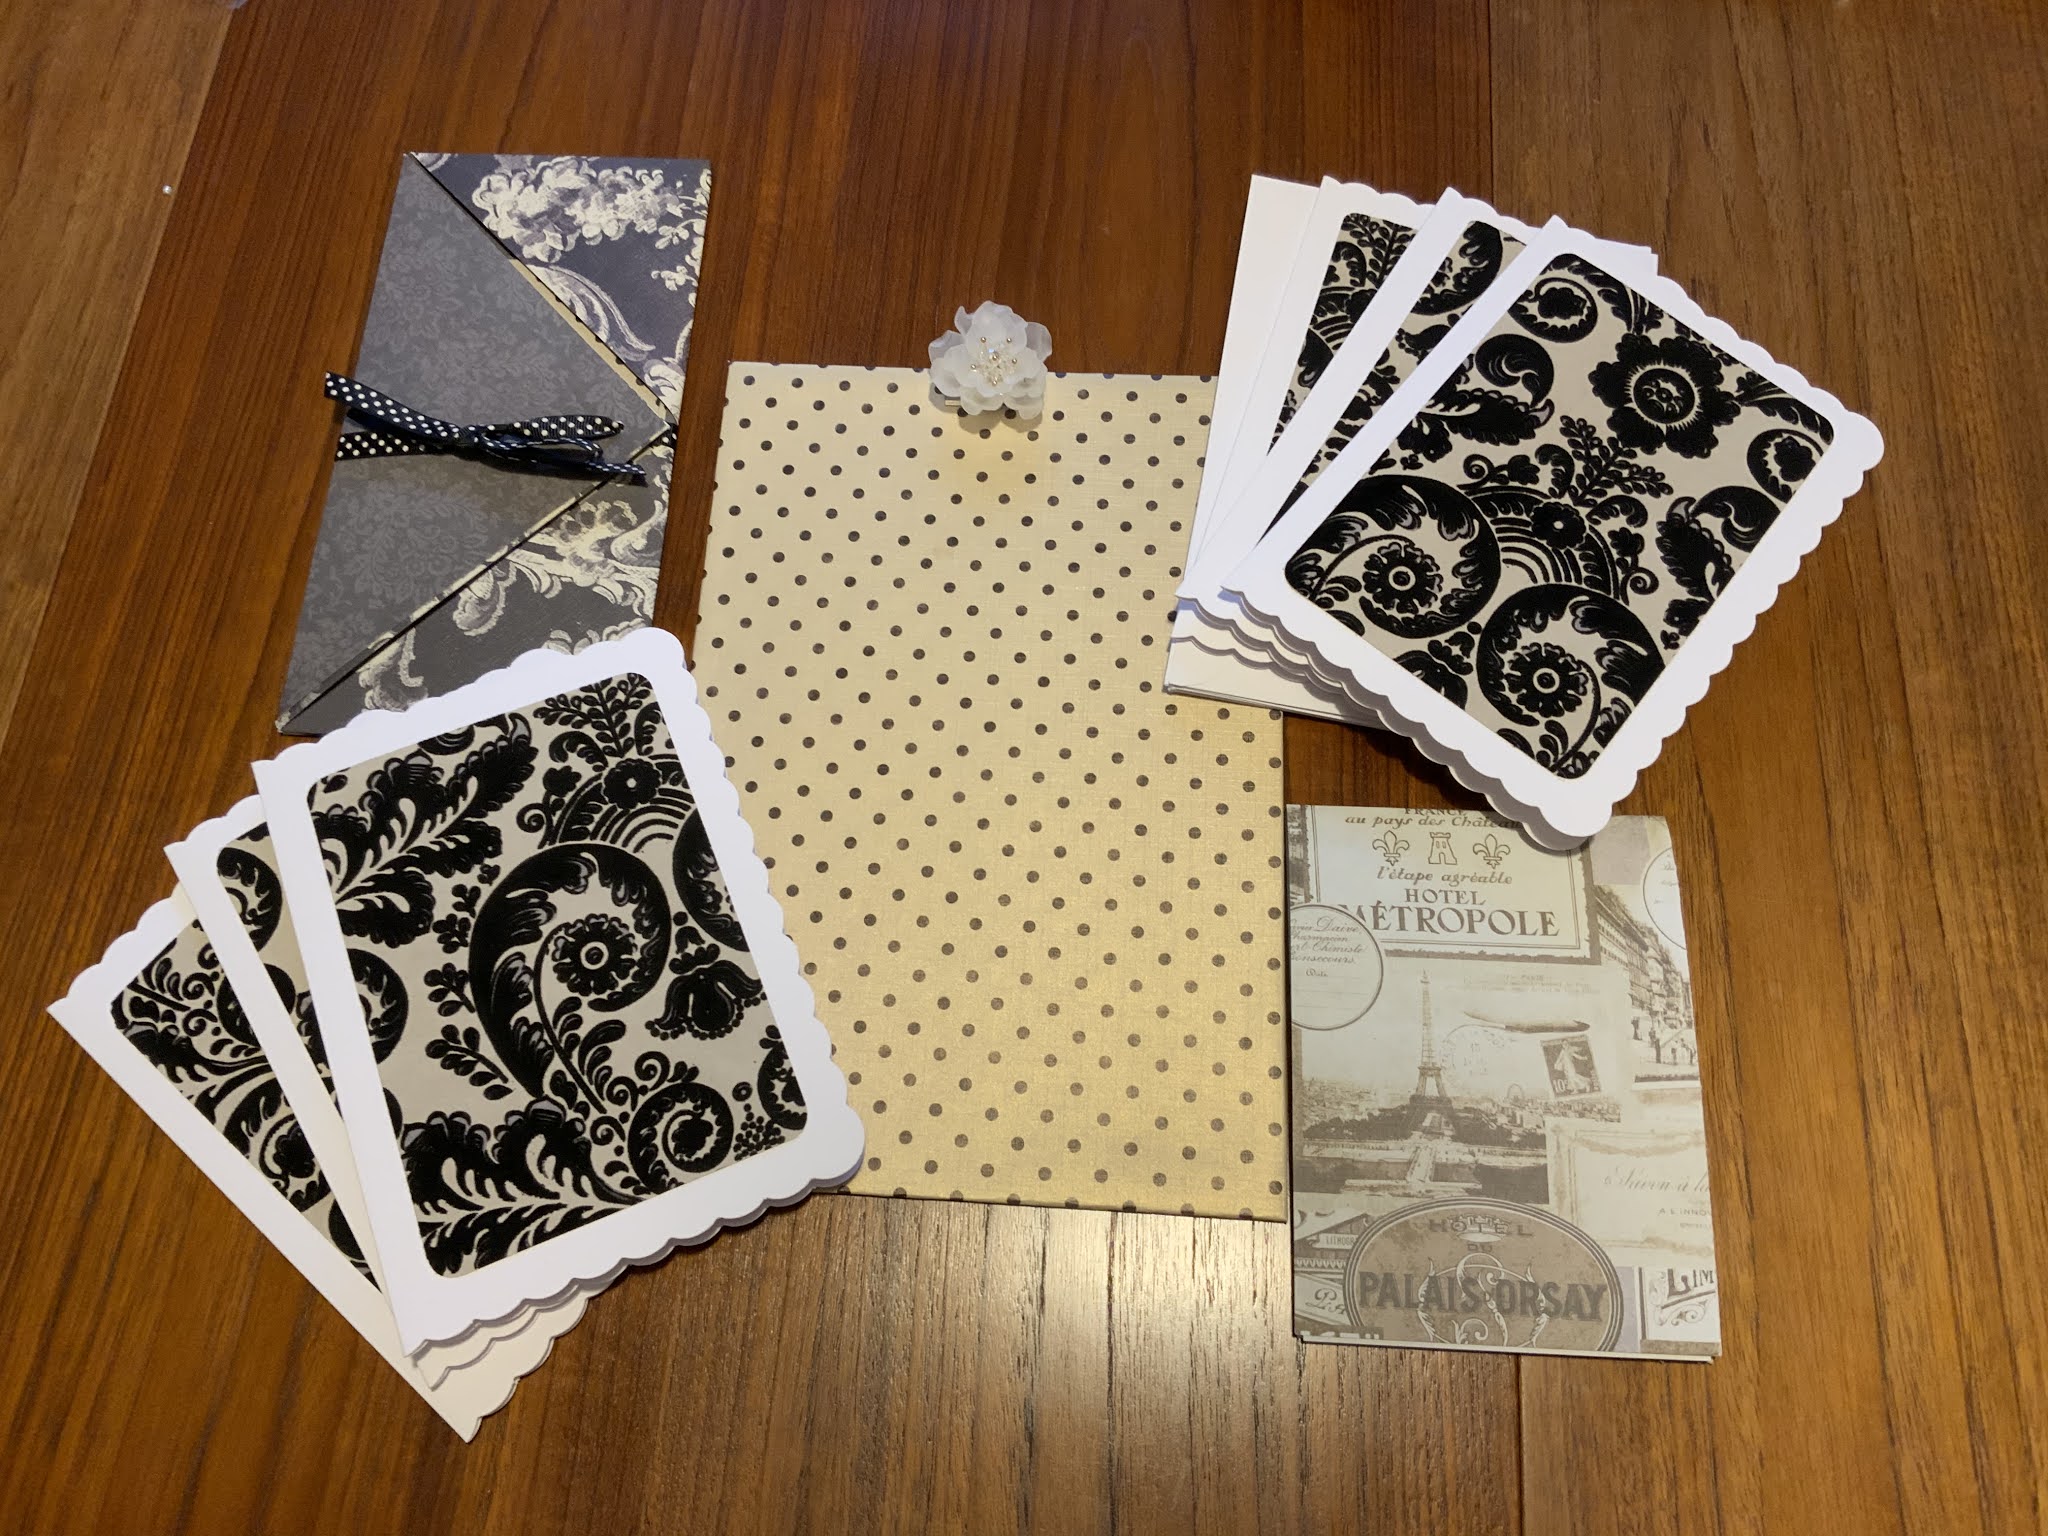
The next person with a birthday is my sister, so it will be a feminine card. As she also crafts, it needs to be quite a new or fancy design and I have decided to use my Anna Griffin dies. I will make an easel card.

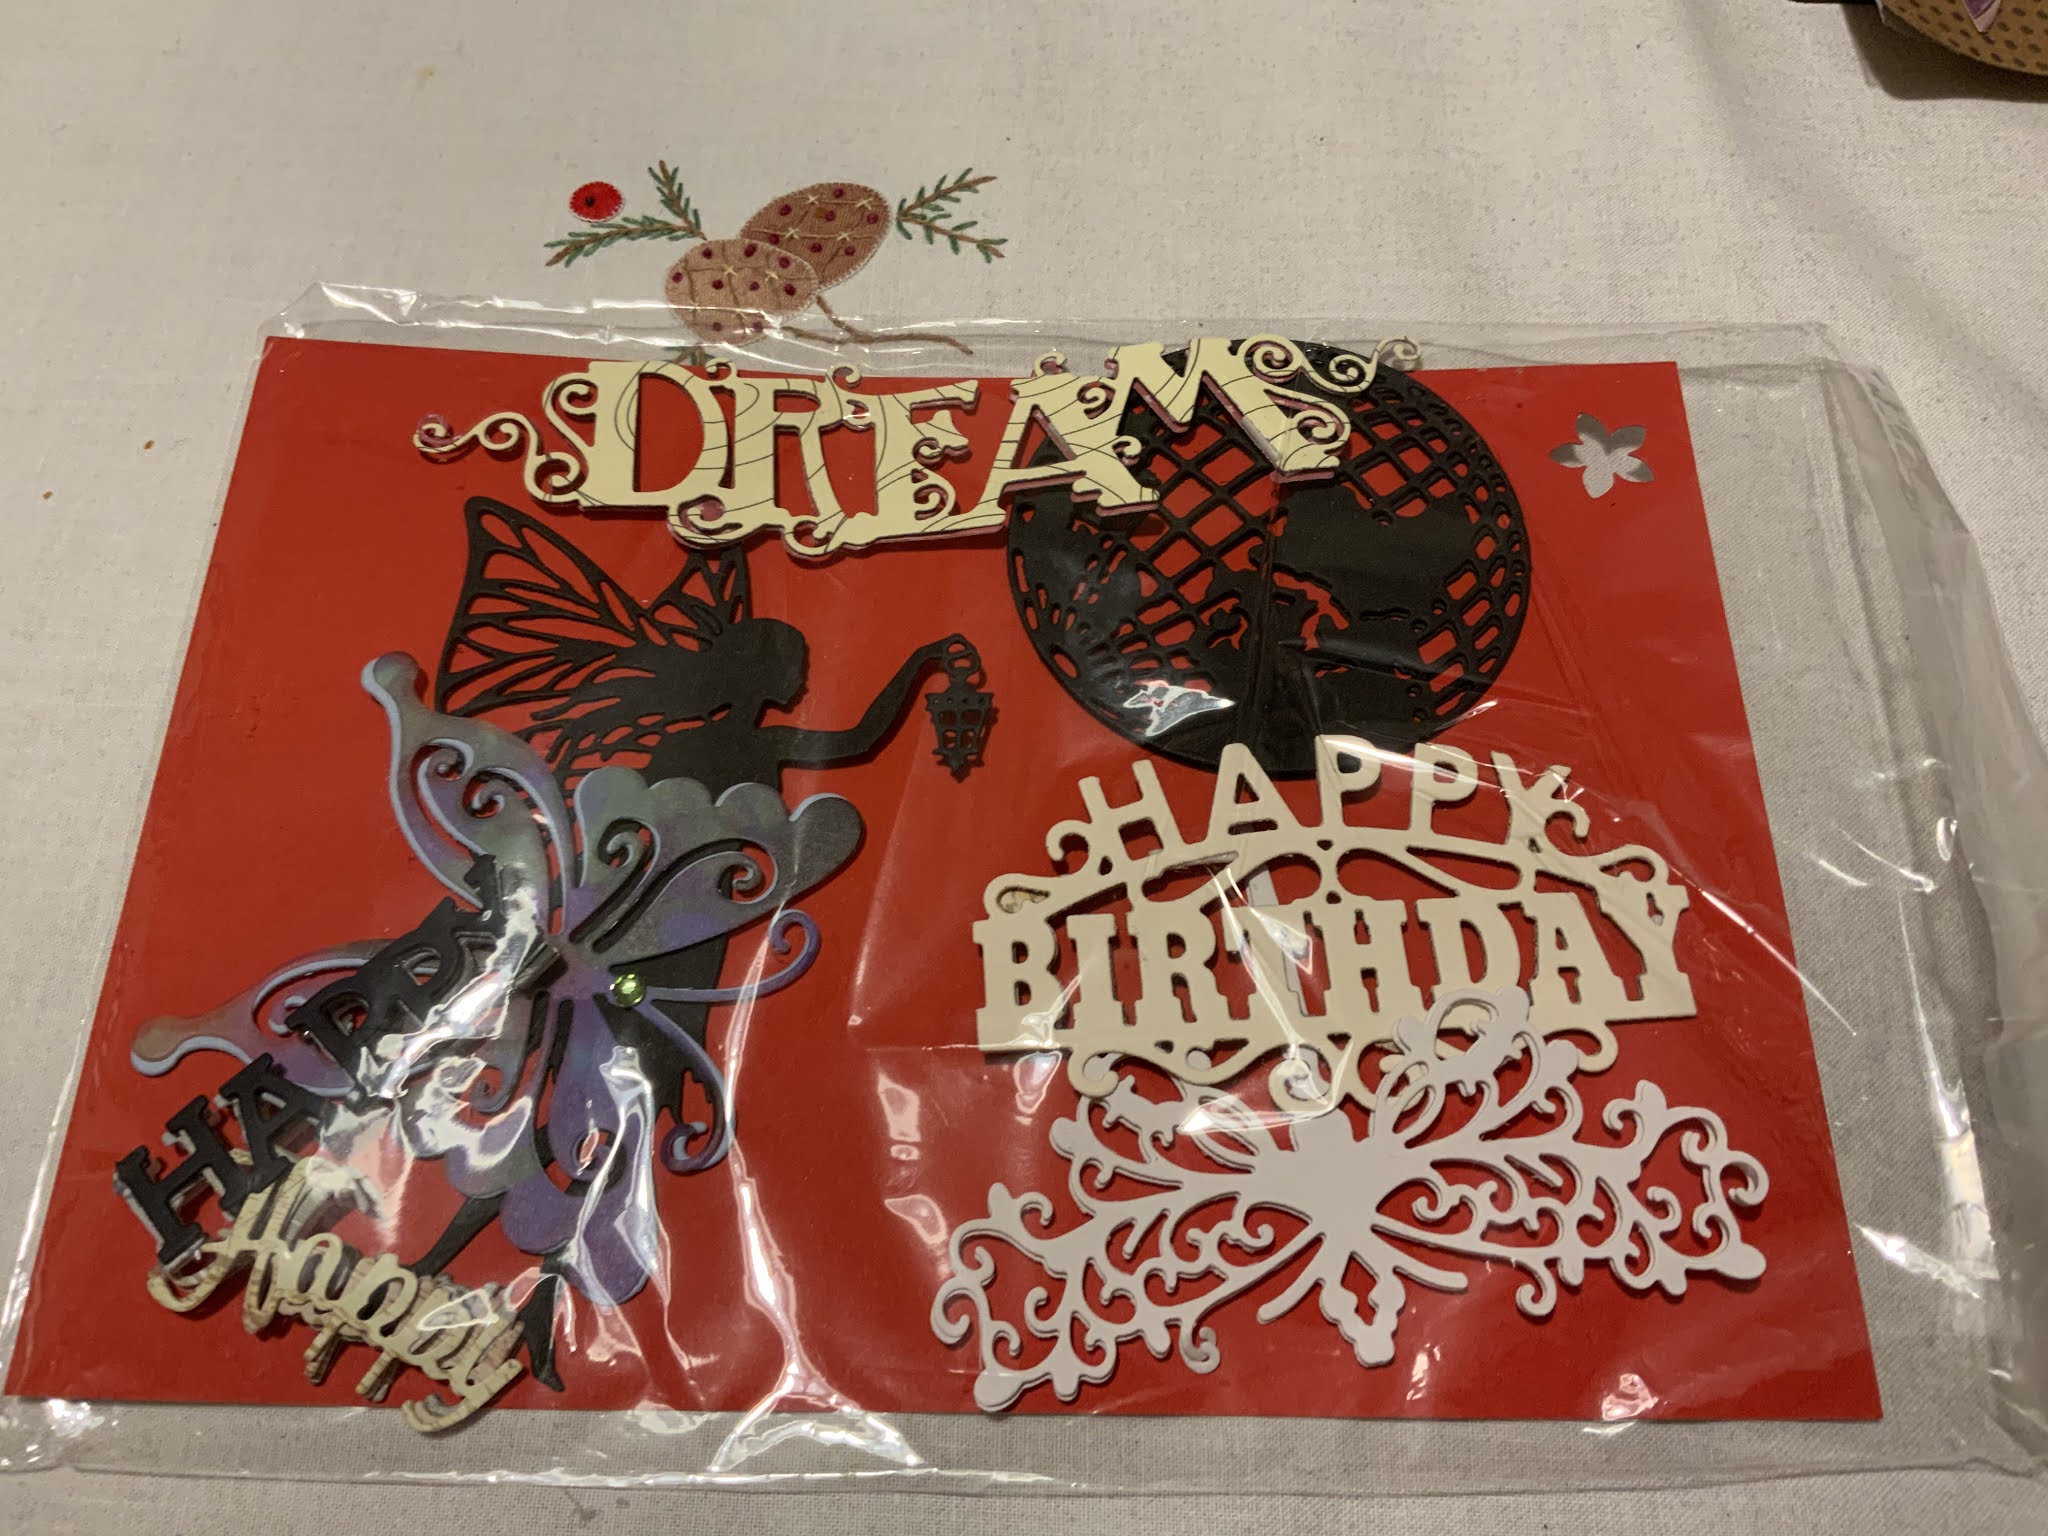
I have cleared out a lot of spare dies and stamps, some paper pads and put them on Ebay to sell. I will continue to make small sets of notelets and journals as I have a friend who sells them for charity and I enjoy making mini books gift envelopes and other small gift items that I can give as Happy Mail. And part pads and extra ribbon and embellishments etc go to a group that make cards to raise funds for a local hospital. 

Just a small selection of mixed items that I am selling on Ebay. I also have listed lots and lots of dies, new and used.

I have read a couple of musings from fellow crafters with their thoughts on paper crafts and their ability to amass a myriad of crafty items that they do not use, and I wonder how companies continue to sell in such vast quantities. On the one hand it is great that crafting is there for everyone to enjoy while there is isolation, but wonder how long sales will continue before the bubble bursts. Would it not be a good time to sell smaller kits for everyone to be able to join in and not put pressure on people to purchase £100 to £150 sets.

I remember way back when QVC was the first tv selling company of craft items, American Crafts and Anna Griffin, Hot off the Press and Die Cuts With  A View (DCWV). Lots of lovely demonstrations and packs made up of stamps, cards die and sticky pads, all you needed to make up a collection of cards for your money. Then Create and Craft joined in with great decoupage card kits, which I still buy occasionally on Ebay when I can pick them up for a bargain price. 

I will continue to blog my craft journey with you and you can see if I keep to my 2021 resolution.

Happy Crafting

Dee


Tuesday 12 January 2021

Ideas for Recycling Your Christmas Cards

Hi Crafters

As I promised in my previous post, here are some more ideas to recycle your Christmas Cards.

1.  With thinner cards you can make a tassel (see post 6 October 2020 for how to make a paper tassel)

2. Decorate Gift Boxes of Food Carrier bags . The carrier bag can be made from recycled envelopes as in my previous post and you can top any box with a pretty picture from the front of a card. Adding layers to decorate a box also adds interest and dimension


3. If you have embellishments on your card (I had a card sent to me with 3D robins across the front) or a small pretty section cut it our and add it to a magnet (YOu can buy these from Poundland, The Works etc) 

4. Make your cards and tags for next year.

5. Make a tubular box that can be hung on the tree or mantle that will hold a small gift or handful of sweets and chocolates. Take the front picture of your card and roll over a tin or rolling pin gently to slightly curve the card. Glue the 2 sides together. With the glued seam at the back pinch the base together and glue down. Leave this to dry firmly before pinching the top of the card in the opposite direction to the base to form a cone and punch a hole in the middle of the top. Thread a piece of ribbon through the hole, pop your gift or sweets inside and tie a bow to close the top 


6. To make elegant wine bottle labels cut a strip of card approx 3.5” wide and 6-8” tall 
 Score the card 3” from the top and make a hole in the middle. If you do not have die or punch you can do this by drawing around herb jar or something of similar size place the sharp end of your scissors in the middle of the circle punching through the card and then cut out to the circle you have drawn and around the pencil line. This will fit nicely over the top of a wine bottle and you can add your greeting to the back. It can make the giving of a bottle a little more personal. 


For all of the above suggestions you need to look at your pile of sorted Christmas cards and see which suits the shape and style of item you are going to make. Do you need to use the back as well as the front of the card such as item 6, as it will need to be a card now written on the both of the inside pages. Or is the back going to be stuck down as in idea 2. 

You can enhance your recycled items with ribbon, gems etc but I like to limit these as it is usually the original card that I want to highlight. 

Happy Crafting
Dee

Sunday 10 January 2021

Using Up and Recycling Envelopes

 Hi Crafters

As anyone who has crafted for a year or more will know we often end up with spare envelopes from card sets and they seem to multiply easily, so that when we clean the craft boxes there is a bag of different size envelopes going spare. Whenever possible I make gift bags from them. This way I not only use up the envelopes but also scraps of card or in this case the front of pretty Christmas cards. The bags can then be used for personalizing your gifts or promoting your makes at a craft show. 


The card on the front of this bag was a card made from a watercolour painted by the friend who sent it, so it is lovely to be able to recycle it. 

WHen I take down my Christmas cards I start by sorting them into sizes, and removing any embellishments that can be used on other projects.

I then go through my pile of spare envelopes and taking the largest ones out first, I start by making sure the flap is sealed down and then cutting a tiny strip off the top of the envelope to open it up again. Next I score an inch on both sides and along the base to form the bag gusset.  Place your hand in the open envelope and put your finger into the corner and fold the corner diagonally so it sits straight at the base of the bag. 

Fold the score lines so that the gusset is formed. Tuck over the top and glue down the small flap inside the bag, and glue the corner base flaps at the same time  

Then take your card and allowing a frame all around the card cut it to fit into the panel inside the score lines. GLue that to the front of the bag. Using a hole punch place the bag together and punch holes near the top of the bag for the handles. Add string or ribbon to make your handle. 

You can make up bags throughout the year using recycled envelopes and pieces of your scrap card. 

Back soon with more Recycling ideas for your Christmas cards. 

Dee


Monday 4 January 2021

Using up your Papers and Stash

 Having tidied up the craft room and the scrap bag I set about using up more of the scraps. My last post showed you how I use the larger pieces of card and paper from my scrap bag, and this post will concentrate on the smaller pieces, leaving envelopes for another day.

Like most crafters I cannot waste anything, but have come to the conclusion that saving scraps is only worthwhile if you set time aside to actually do something with them. So i am going to show you lots of ideas to get you started  


 You can use lots of you papers with your dies, for flowers or words,

Here we have words, butterflies and dragonflies a fairy die cut and globe in black scraps

The words have been layered to make them 3D,           

  Any long strips can be made into bows, and stored to decorate boxes and parcels.

You could also use strips to make paper tasssels or rosettes.

I then take out my punches to make embellishments, layering up several pieces, and adding other crafty bits, such as beads, buttons, gems etc.


These embellishments use scalloped shaped bases and hearts cut from scrap pieces of a first edition sheet of paper, the hearts have been cut by hand and layered using foam pads and some greetings, all items from my oddments bin

Punched shapes can also be doubled up to make paper clip for page embellishments. 


The most recent makes were scalloped and stitched circles layered and decorated with bottoms beads.and ribbon, These have been added to my box of embellishments to use on future projects, send  as Happy Mail, or send to friends in envelopes made earlier.


 I hope this has given you plenty of ideas to use up those lovely pieces of paper you stashed away and don’t forget to share the makes with your crafty friends.

Back soon with how to use up those spare envelopes that build up. 

Denise