Hi Crafters
Followers
Monday, 24 January 2022
My Larger Version of the Abigail Folio Album by Paul Ford
Thursday, 20 January 2022
Recycling projects 5 - Mini Brag books and folders
Recycling your Christmas Cards
Project 5 - Mini Brag Book & Folder
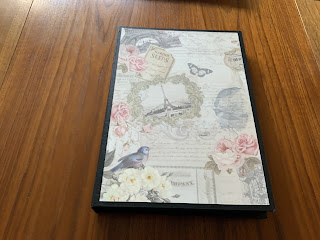
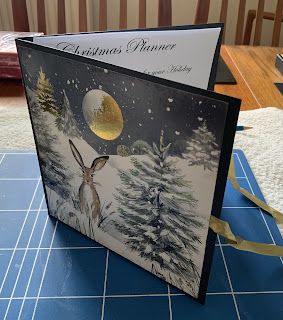
For me I have saved the best til last, not that they are necessarily the best projects but because I used my favourite pictures on the folder and the Mini Brag book is so versatile.
NB All the projects show in this series of recycling your cards can be made using your scraps, or papers and cards you have in your stash or been sent etc
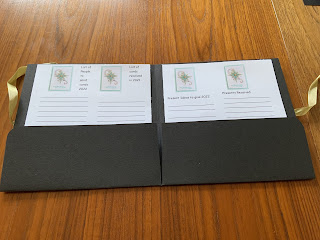
Glue the middle section together to form a book. I have headed each section with Christmas jobs. Cards received and sent, presents to buy and food ideas.
The Christmas Planner / Folder
You could decorate the inside flaps if you want. I love to have this in my desk drawer and when a family member or friend mentions something they like I can add it to the planner for next birthday or Christmas.
Friday, 14 January 2022
Recycling your Cards - Project 4 Gift Bag
Hi Crafters
Well here we are with project 4 of Recycling your Christmas Cards
Gift Bags
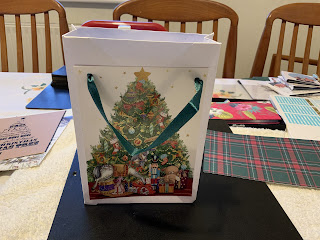
And here we have the finished bag. It may seem a bit of work but once you get the basic method you can make them from scraps and any envelopes you have spare, (and we gather envelopes quite easily) so this is a great recycling project for all year around. I make them all year round to :-
Tuesday, 11 January 2022
Recycling Christmas Cards -Project 3 Sticky note holders
The Santa card was a long card that I cut the front off and folded in half while the globe card was a 6 x 4 card which I cut up to fit so this one had writing in.
The larger pad holder is made from a cut down card that had pigs on “Pigs In Blankets” that I just loved so had to use. I lined the inside in the same way and added the ribbon, however being a larger base to work with I decided to add a pad to the right hand side and an envelope with some tags in on the left side and I think this would work well for any 5”/6” card you wanted to use in this way and that cut down appropriately.
There are 5 great tags that fit into the envelope on the left side. These are simple to make take a piece of card 1 cm bigger Than the height of your card front and 1.5 times as wide. Score 1cm down both of the long sides and fold in half cut up the score lines at the side until you get to the half way score line cut away these 2 pieces and fold in the top score lines. Glue the scored panels and fold up the bottom section to form the envelope. You can either use tags you have or make some form your stash of cards.
Saturday, 8 January 2022
Recycling Project 2 Boxes from your Christmas cards
Project 2 - Recycling your Christmas Cards
Making Tall and Flat Boxes
Saturday, 1 January 2022
Preparing your Christmas Cards for Recycling
Happy New Year and welcome to my first blog of 2022
So January will be all about recycling your Christmas Cards.
To do this we start by sorting out the cards . I put my cards in size order and at this stage I do not cut the backs off, unless they are far too messy to be able to use. Once this is done we can consider the best projects for the size of the card.
I then decide what projects i am going to make. By deciding before hand it focuses the selection process for the most suitable card for each project.
I have the following projects in mind:
- Simple squeeze box for sweets on the tree
- Flat and tall boxes
- Sticky note holders
- Card & Envelope to gift bag
- Mini Brag Book
Once you have decided on the projects you are going to make with your cards place the cards you think appropriate to that project in a pile. With any you are not sure about decide if there is a part of the card you can use or that can be recycled to make new cards and tags.
Our first project suits most sizes and is very simple so great for beginners or making with the children, who could then use them next year for friends or teacher gifts.
Take your card front and using your bone-folder or ruler, pull the card along the ruler this helps to curve the card, particularly useful if the card is heavy card stock. Next pull the 2 sides around to meet each other with a lap-over of about 1/2cm at the back, and squeeze the base together. Unfold and add tape or mark the sides and base for gluing later
If you are going to store for the year unfold the cards at this point and lay flat again to store. Then make a note of the remaining process to place in the bag with the cards
To complete the project when you are ready to use them-
If I was giving them for teacher gifts I would probably fill with Lindt or luxury chocs as a 6 x 6 card hold 4 Lindt chocolate balls.


