Memory Book/Baby Album
Part 2 of using up a card kit
This project was more involved and it was what prompted me to purchase the kit
I wanted to make a baby album/memory book and I had in mind to use some of the cards and papers to achieve a coordinated album

I decided to make a folio album as this suited the size of the card available
To make the album I used
2 pieces of A4 black card with a coated finish which made it suitable for the cover
2 pieces of heavy black card
2 pieces of white card stock
The 5 cards remaining
About 9 pieces of the A4 paper that came with the kit
With the coated card I cut one piece in half along the length to give me 2 pieces of A5
I then cut 2 pieces from the other piece
one to make the binder this measured 21cm x 7cm score along the 7cm side at 2cm,5cm
One to make the front fastening that measured 21cm x 8cm sore along the 8cm side at 2cm,5cm giving a flap for the front of 3cm.
Attach the front and back to these 2 panels and then cover the inside.
I cut 2 pieces from the papers to fit the front and back of the album and laminated them so they are now wipeable.
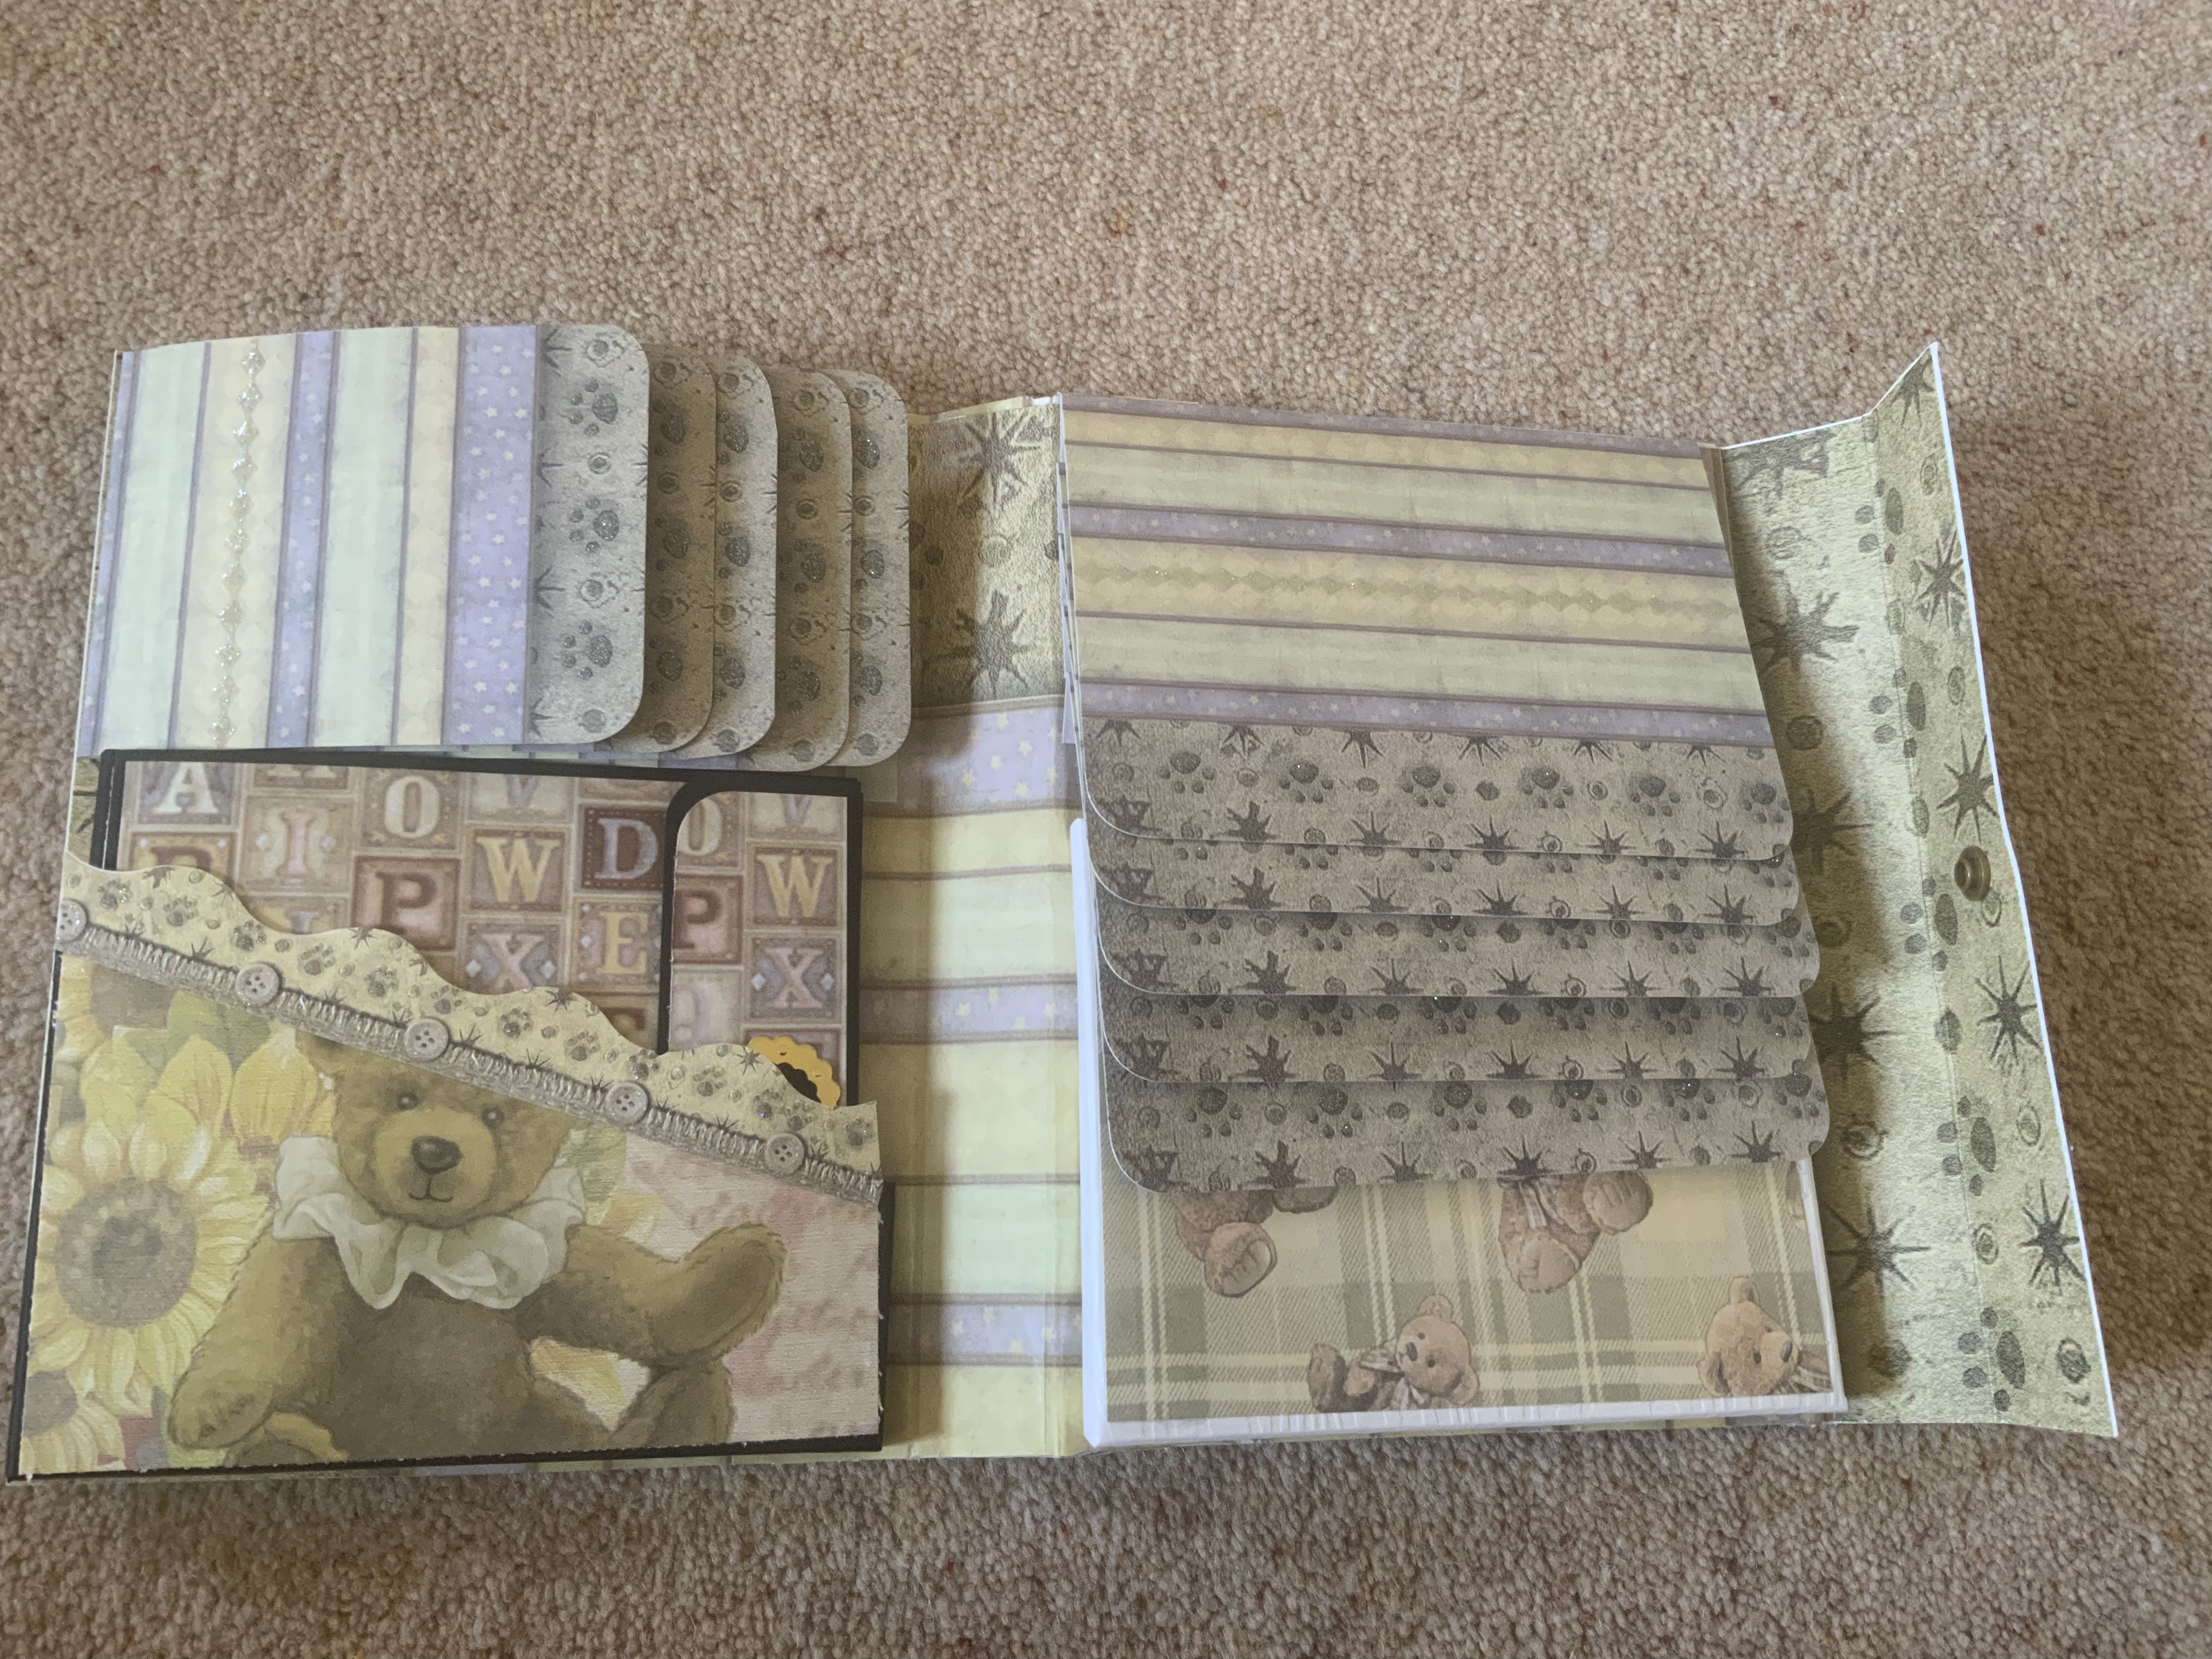
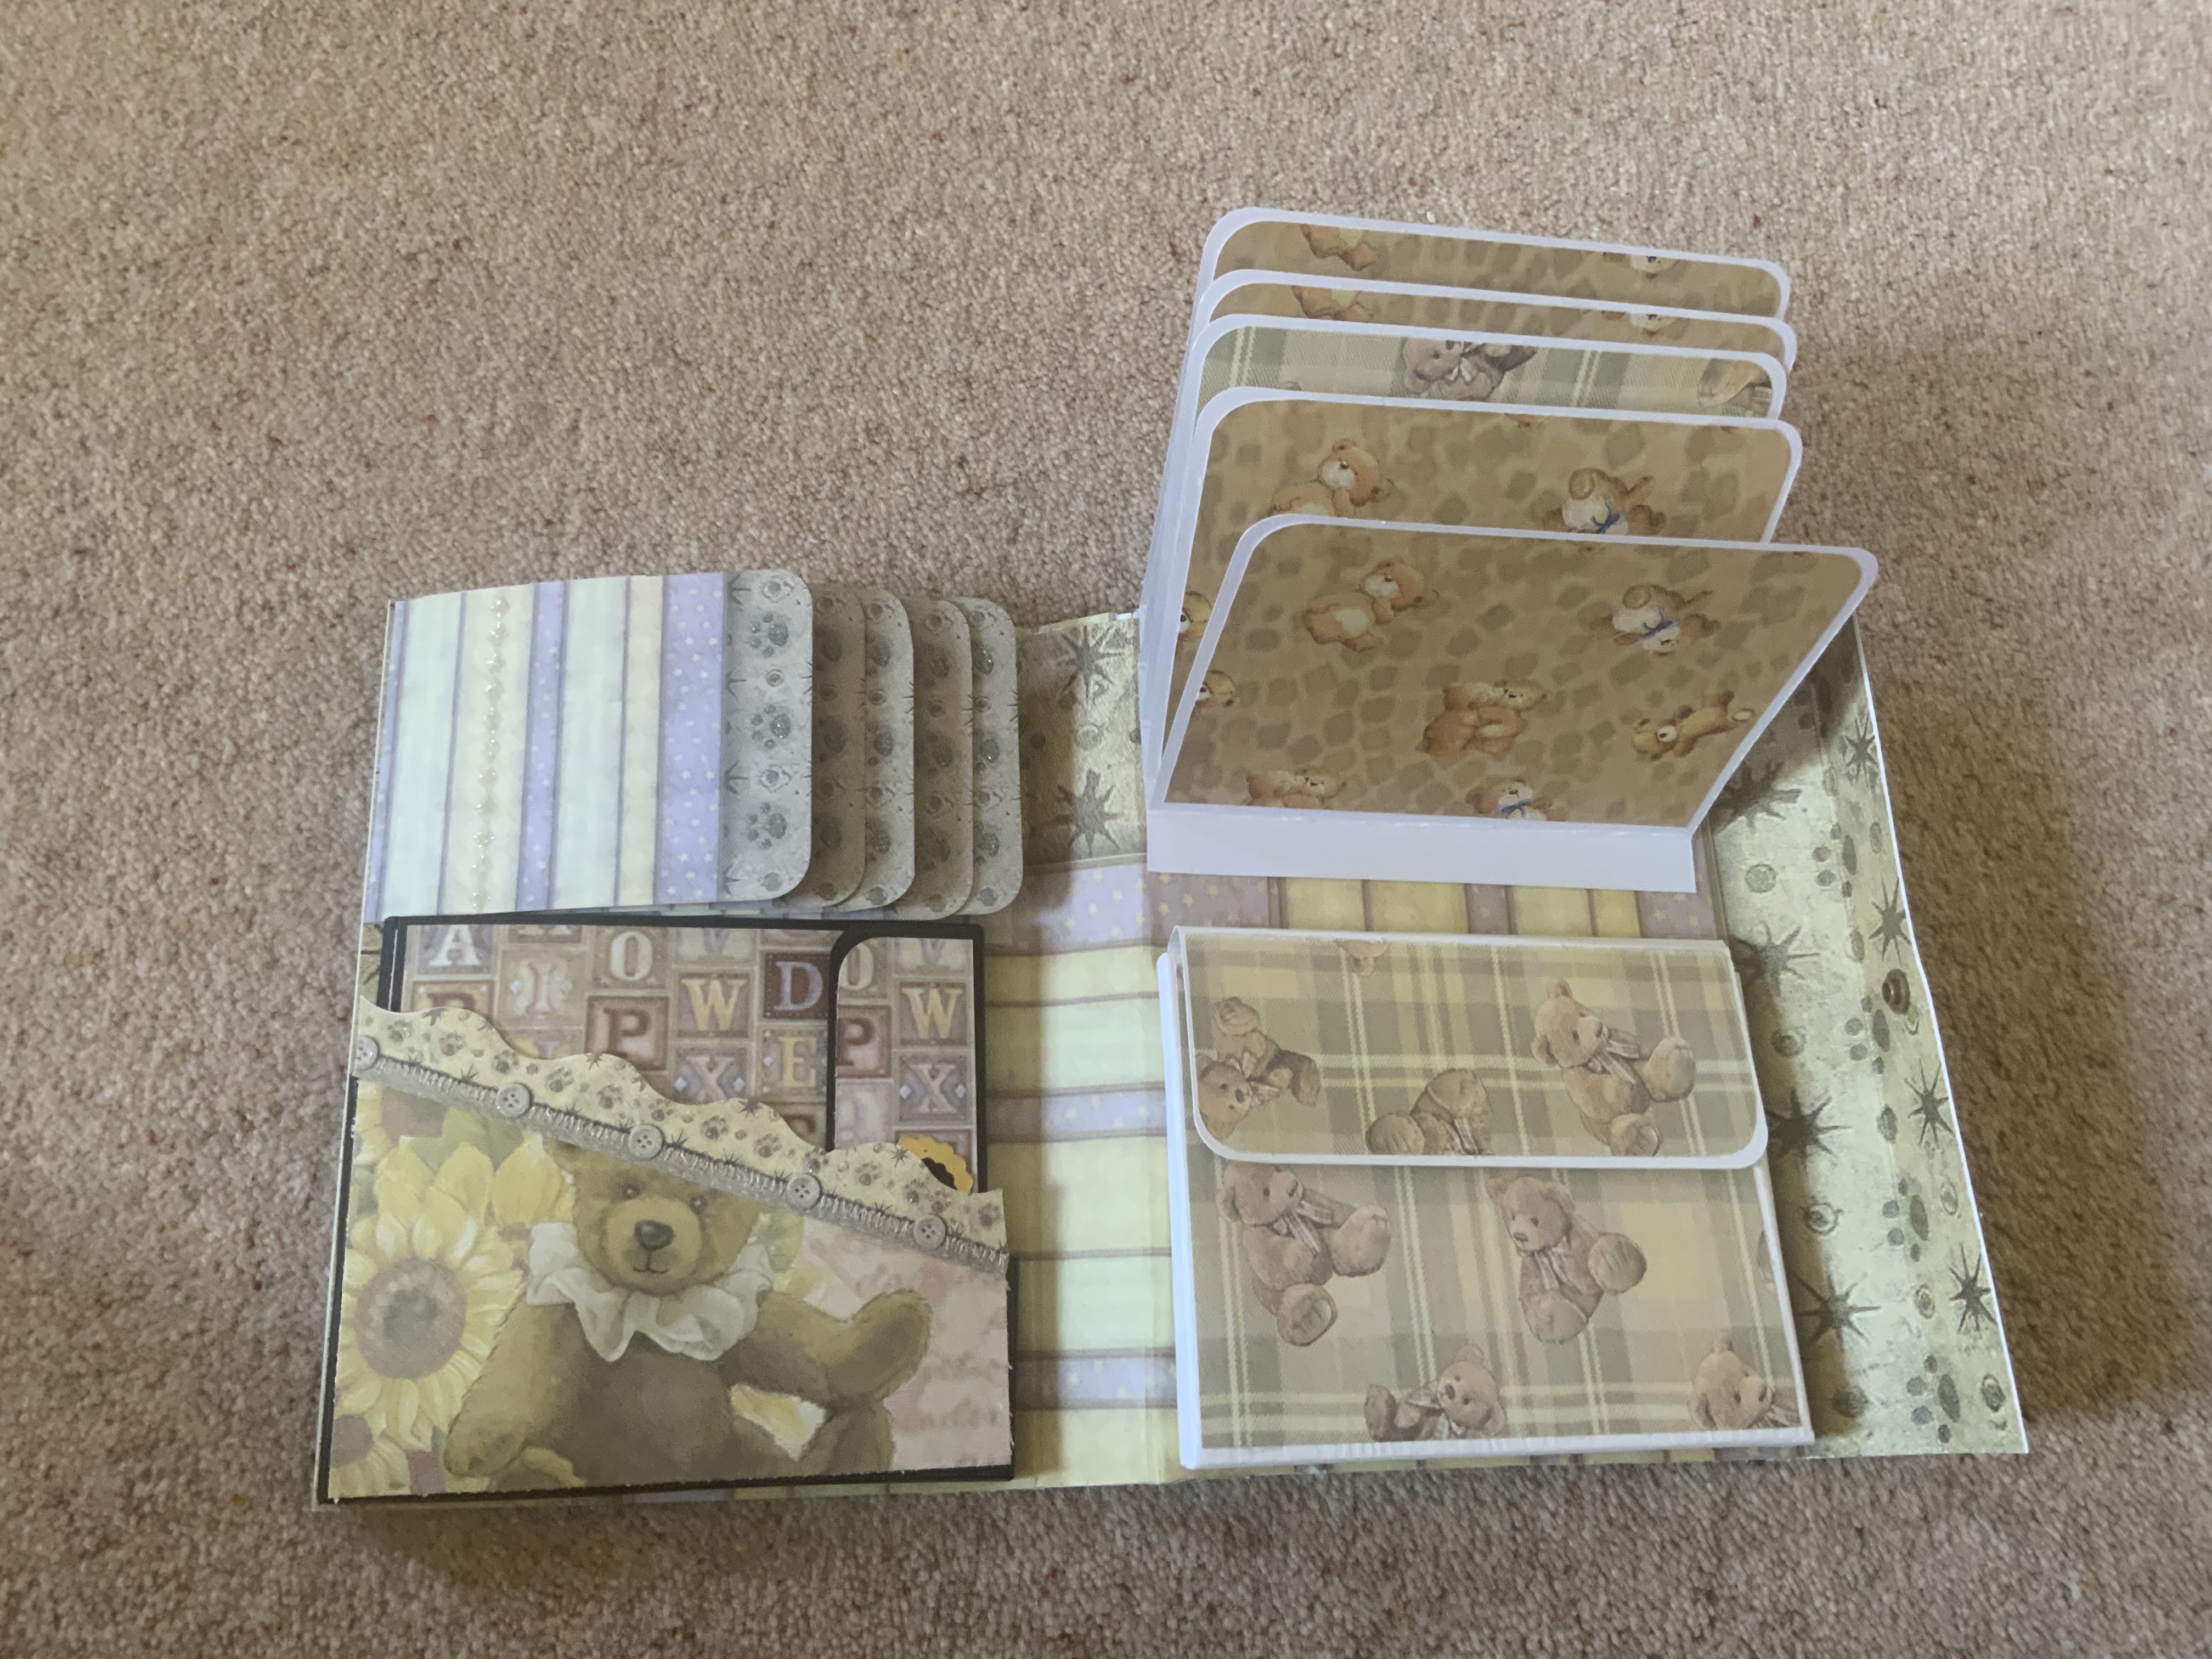
For the inside Right
I cut the 5 cards in half and then cut the full half into pieces measuring 12 x 14cm . Score 2cm along the 14cm edge making the finished flip card 10cm x 14cm . These form the flip photo mats.
Burnish the score line and lay the flip card onto the right side starting with the folded panel near the top edge of the panel lining up the remaining cards under each scored section. As you are layering them line up the sides so they stay even.
For the bottom of the right hand side I made a pocket with a fold over lid, using a three sided box template, and a single piece of card scored to fold over as a front flap.
This makes a useful storage area for photographs or journal tags.
Before placing the box base and flap onto the right panel I covered them using another of the papers and also covered the back of the photo mats. You don’t have to cover the back as the cards used to make the flip sections were printed on the outside and white on the inside, but I wanted the bear theme to be on show.
On the Left panel”
Using the remainder of the cards I cut up to the die cut section and then cut the full section to 11cm x 8cm Scoring along the 8cm side at 1cm leaving 5 flip phot mats 8cm x 10xm
I used 2 of the die cuts to line underneath the photo mats and cut another sheet of paper to cover the backs .
This left a slightly bigger bottom section and so I decided to make an open pocket that could hold a couple of wallets . One would have 3 good sized photo-mats on and the other would have sections to store tags and more photographs.

For the base pocket and the folders I used the other black card
Each of the wallets measure the full length of the card and 12cm wide so I could only get one wallet per piece the rest of the card was used for the pocket and the storage sections on the tag wallet. Both were scores at 5”, 10” (sorry to change to inches but this fitted the pocket size).
The fronts and flaps were covered with papers from the kit and the pocket edged with the paper borders.


I am really please with the way this album worked out and it utilised the remaining cards and half the papers.
Back soon with the other projects that used up more of the papers
Dee
No comments:
Post a Comment
Make a comment