I said on Day 5 that I would be posting more star cards for day six, and whilst I may be cheating a little I hope you will see the benefit of using one die for a couple of different style cards.
You can do the die cutting in one go
You can use the blank pieces of card as layers (check out the star cut out card)
You can mix and match more colours when making your stars
Day 6 More Star Cards
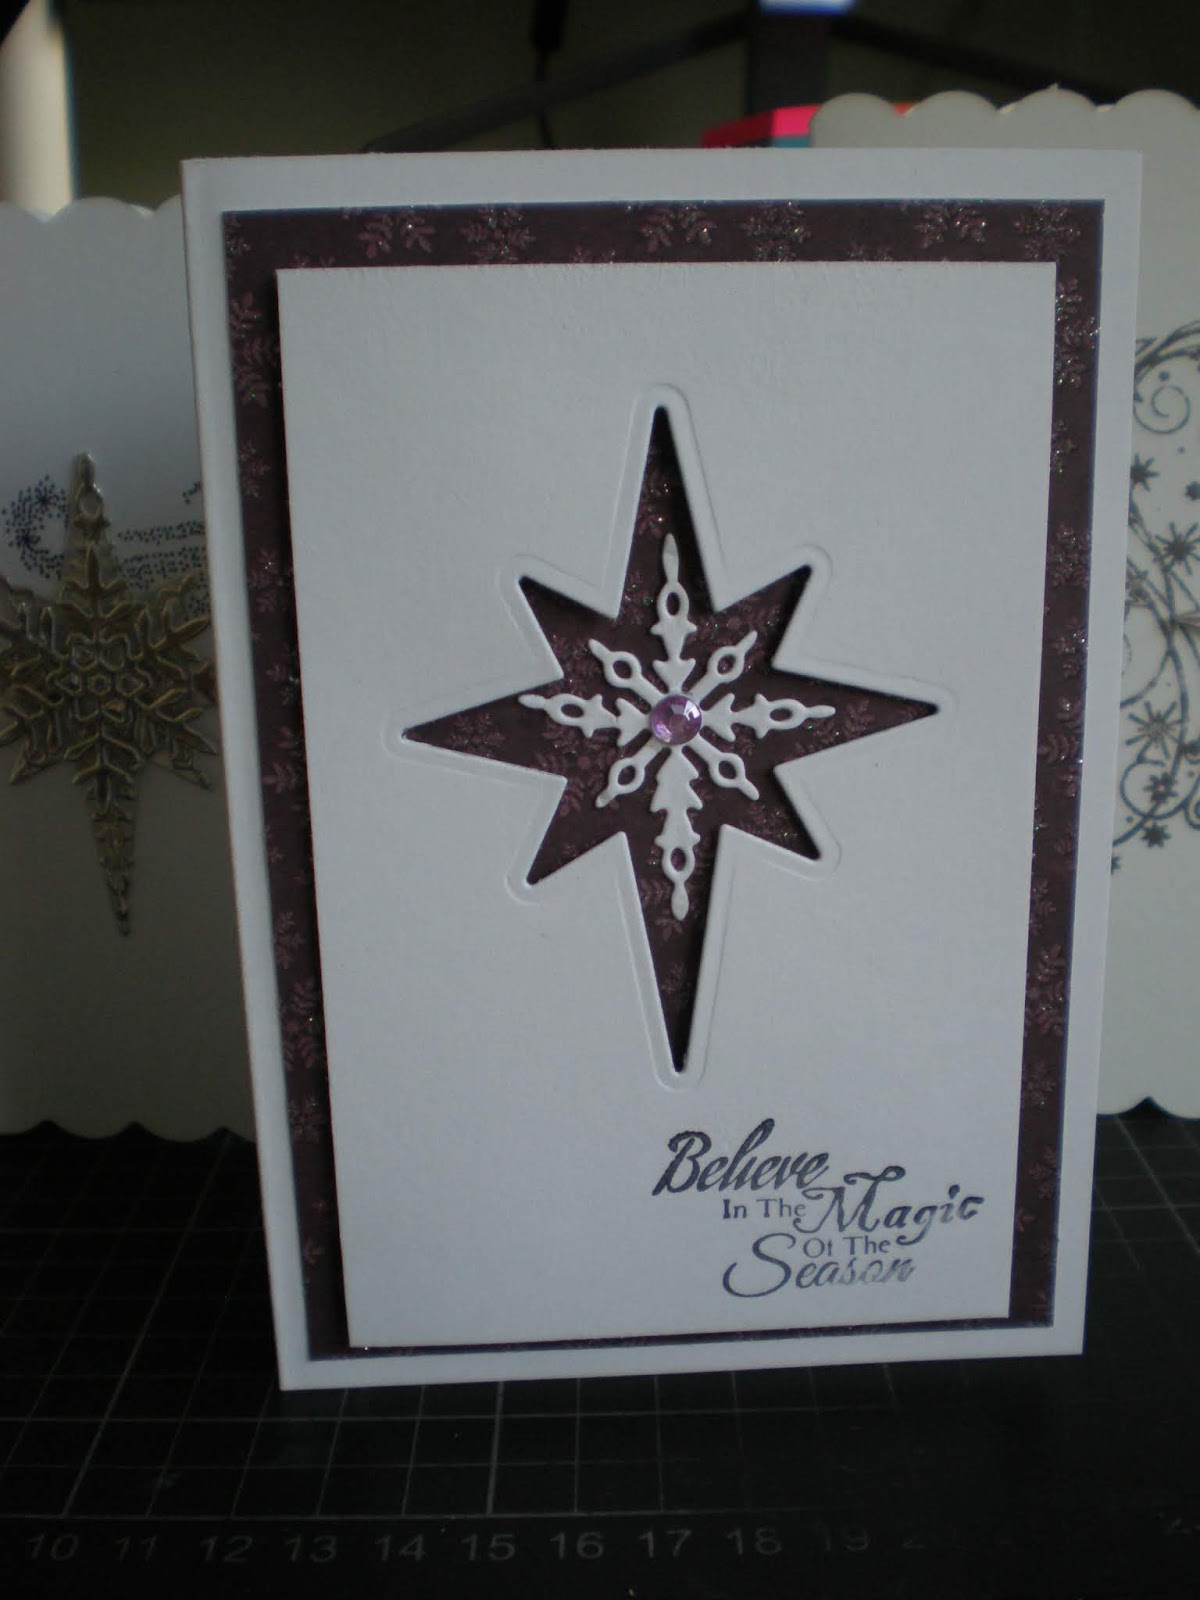
A)
The first one was a happy find when making the original star card. I wanted a white base for a star and cut it out of a piece of white card I had in my scrap pile, seeing the blank card with the star shape cut out; the design just came to me, and I set about using the blanks and scraps from the desk.
You will need
A6 card and envelope (10.5cm x 15cm)
piece of white card 8.5cm wide by 13 deep
background card/paper 14 x 9.5cm of your choice and to compliment the white card
Star die (the die will need concentric pieces so that you have a star that fits in the cut-out)
centre embellishment
sentiment stamp
- Place the star die on the piece of white card to a position you want the finished card I have centred it vertically and placed it to ward the top leaving room to stamp the sentiment in the bottom right corner.
- Cut out the star set aside the star for use on another project
- Stamp the sentiment
- Layer the stamped piece onto your background using foam pads around the outside edge
- Glue this to your base card
- Take the smaller star and place in the centre use a fine tip glue to adhere to the background paper and add your centre decoration
Day 6 Panel Card
B)
This is my take on a design I saw on YouTube, and I have adapted the sizes to compliment this particular card

You will need
1 Piece of card 21cm x 15cm (half of a sheet of A4)
1 envelope for a 6 x 6 card
Star DIe (you could use a snowflake die or bauble die)
1 sheet of 6 x 6 paper for background so it should compliment the card and star colour you have cut
Mirra card to cut the star
Greeting stamp
- Take your piece of card and score at 6cm, 8cm, 13cm, 15cm
- Cut the piece of paper to 14cm x 15cm (take 1cm off one side)
- Cut along the 15cm width 3 pieces, 2 x 5. 25cm wide leaving one piece 4.5cm wide
- Cut the Star out and layer
- Using the 4.5cm panel stamp your sentiment at the base
- Fold the score lines on your card to raise the centre piece
- Glue the 5.25cm strips to the outside panels and the 4.5cm piece to the centre of the card
- add the Star to the centre panel
You could decorate the sides with small bows or other sentiments.
Your personal greeting can be written on the back
The card will fold to go into the 6 x 6 envelope
Hope you are on your way to making your cards now
Don't forget to keep checking back for more Christmas Card ideas
Happy Crafting
Dee
Hope you are on your way to making your cards now
Don't forget to keep checking back for more Christmas Card ideas
Happy Crafting
Dee
No comments:
Post a Comment
Make a comment