Hello Again hope you are all well and enjoying your crafting.
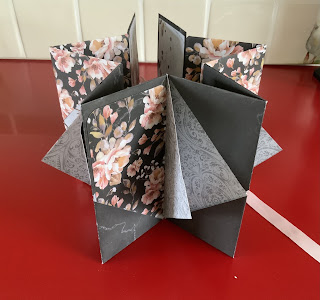
Today as promised I will show you how I have decorated the inside of my concertina book. I like to be able to use my books as journals and photo albums so this style suits me well. On the inside pages I will add some decorations and tags and then the outside panels will be left for photographs.
There are basically 4 double pages where you open out the book and I will take you through each set, but first lets see the book and front cover.
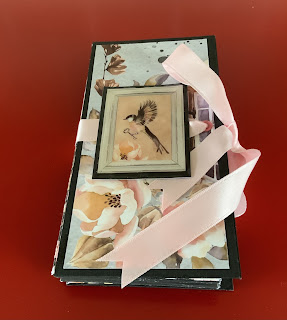
On the front cover I have added an eyelet to right side to take the ribbon closure. I have then finished the front with a glazed tile I made from one of the labels that come with the papers. To make the tile i have glued the label to a piece of heavy card stock and glazed it with Glossy Accents glue.
Next you open the book for the inside cover and page 2.
On the inside cover I have used one of the longer strips left from cutting the pages and folded into 4 to make a small concertina booklet, and finished the top with another label. On page 2 I have tucked in a couple of tags rounded at the top Page 3/4
I have left page 3 with nothing tucked in to allow the picture of the bird to be seen, then fold over the kite flap and on page 4 there is a folded tag. I like to add these as they can be used to hold notelet pads or sticky-notes for jotting down informationPage 5 has another 2 tags added to the tuck-in and an embellished large Paperclip (shabby chic style) to the kite fold. Turn it over and there is another mini concertina booklet tucked in page 6
Page 7/8
there is another large tag in page 7 and page 8 has been left to enjoy the bird in flight
Page 9 has a mini notebook made from a spare piece of card folded in half and a mini notebook cut down and the back page glued to the back fold.
I may add some more decorations, but i have used a good amount of the spare pieces and made some useful additions, as well as the decorated Paperclip, mini notebook and front tile.
I hope you will have a go at this book as it is quick and relatively simple to make and you can experiment with you additional items with plenty of tuck in areas
The back of the album holds at least 8 photographs so this book would be lovely to capture a particular event or holiday.
Dee


No comments:
Post a Comment
Make a comment