Followers

Friday 28 June 2019

Christmas in June

Hi Crafters

Well here we are and all the craft channels have had or are having their 'Christmas in June', programmes.

So on our hottest day so far I have joined in and made my first 14 Christmas cards.

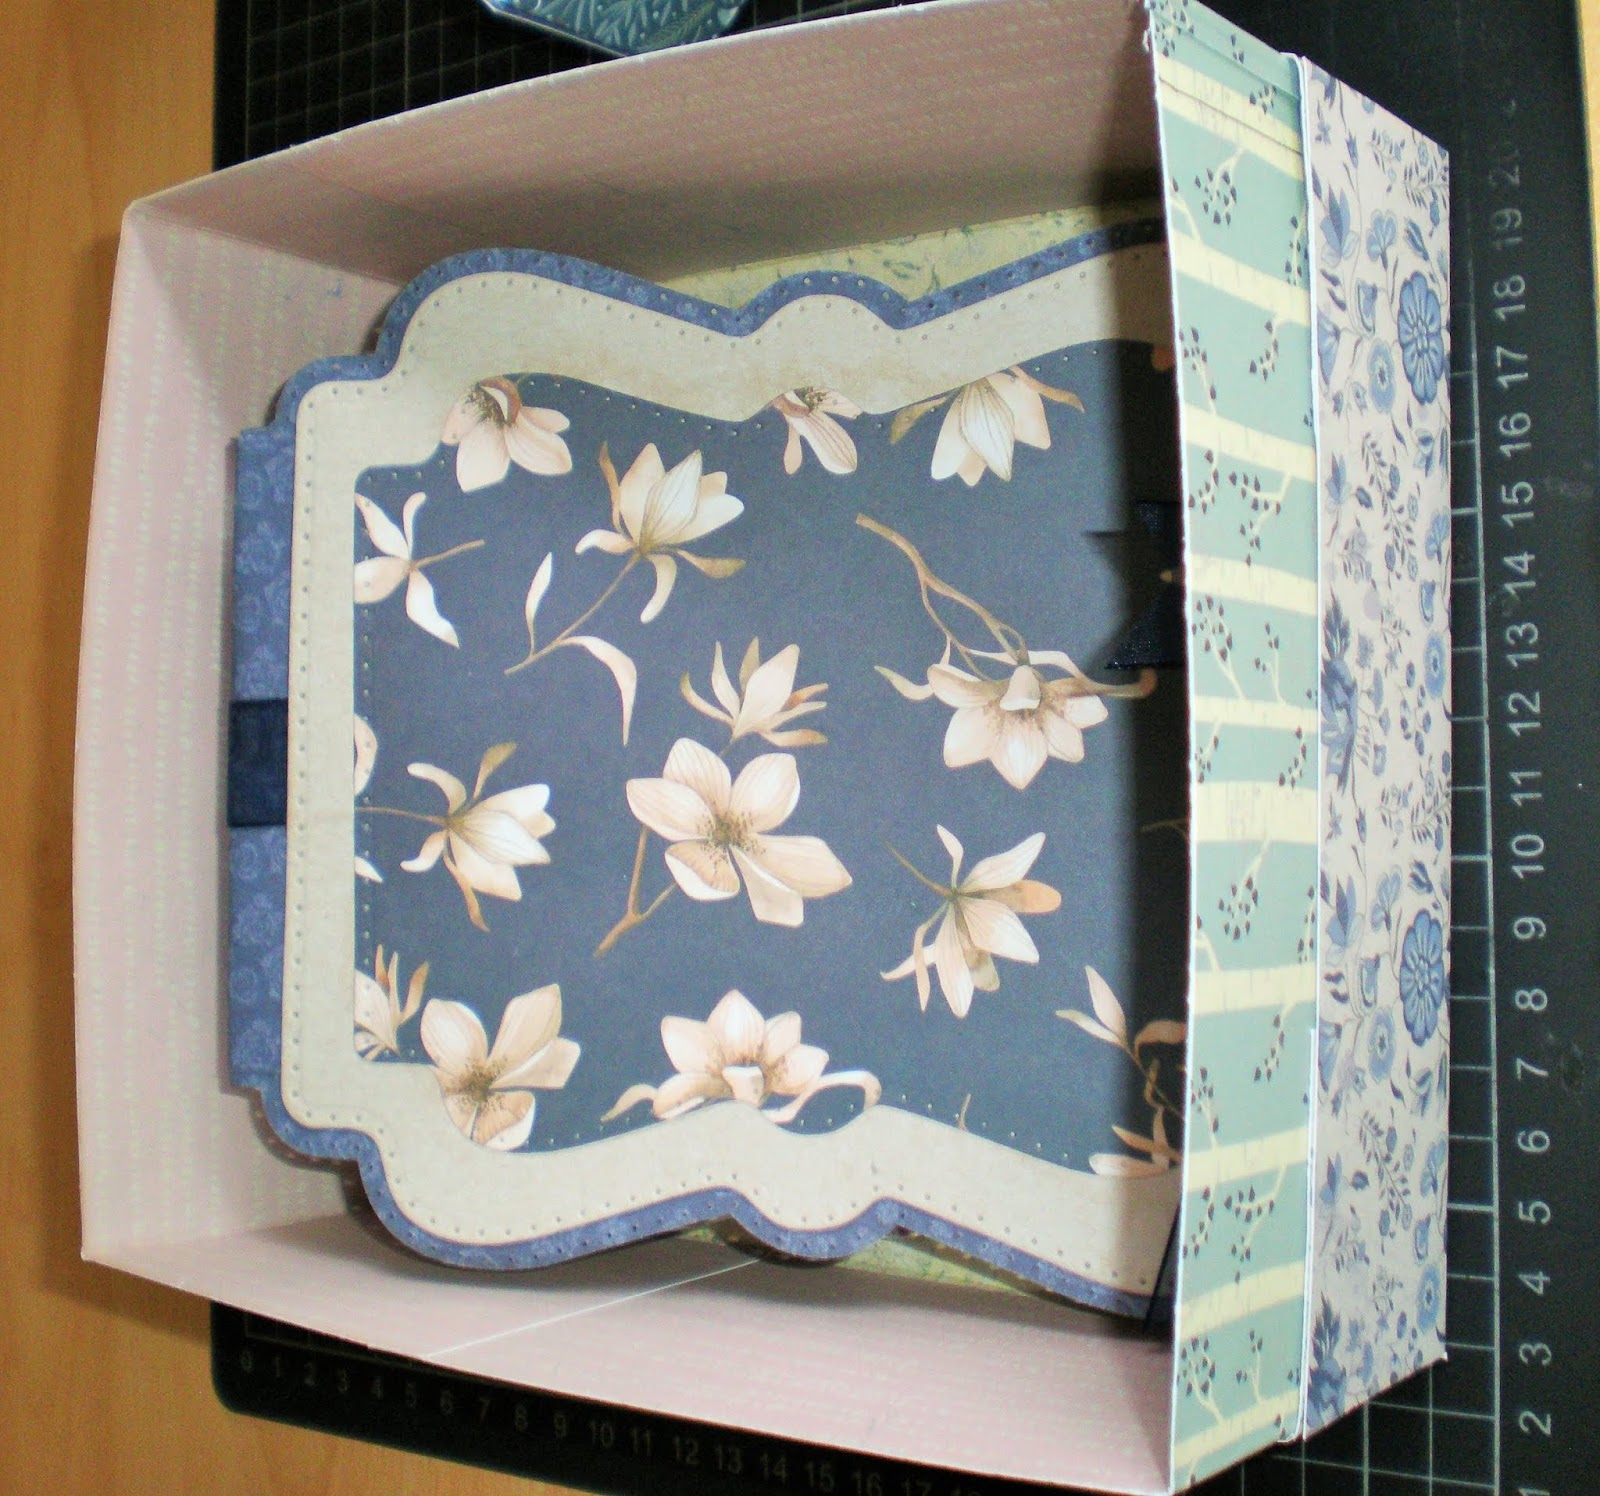
These were actually quite time consuming to make as I had no idea what I was going to do when I started several days ago. I had cleared out cupboards and sorted through all the Christmas stock I was holding. I decided to use up some of the items I had before started new projects. My new system is to look at what needs to be used up and design a project around the items.

I had some lovely lazer printed cards. Whilst they look great as they are they are in need of some decoraton and yet there is the dilemma of whether to line the laser cut out front or not. And if so, do you try to line the paper or card to the thin edge of the front or to the full piece at the back. I ended up with some of each.

Next I had some leftover Anna Griffin embellishments and decided to use these as well as some greeting toppers I bought on clearance.  

First day I lined up card and paper to line the cards

Second Day I positioned the embellishments to a design I liked.

Today, I put it all together, stuck everything down and finsihed each card ready to use. 

A little busier than my ususal cards but it is good to try new things. 

The front lazer cut has the greeting Happy Christmas From Me to You.

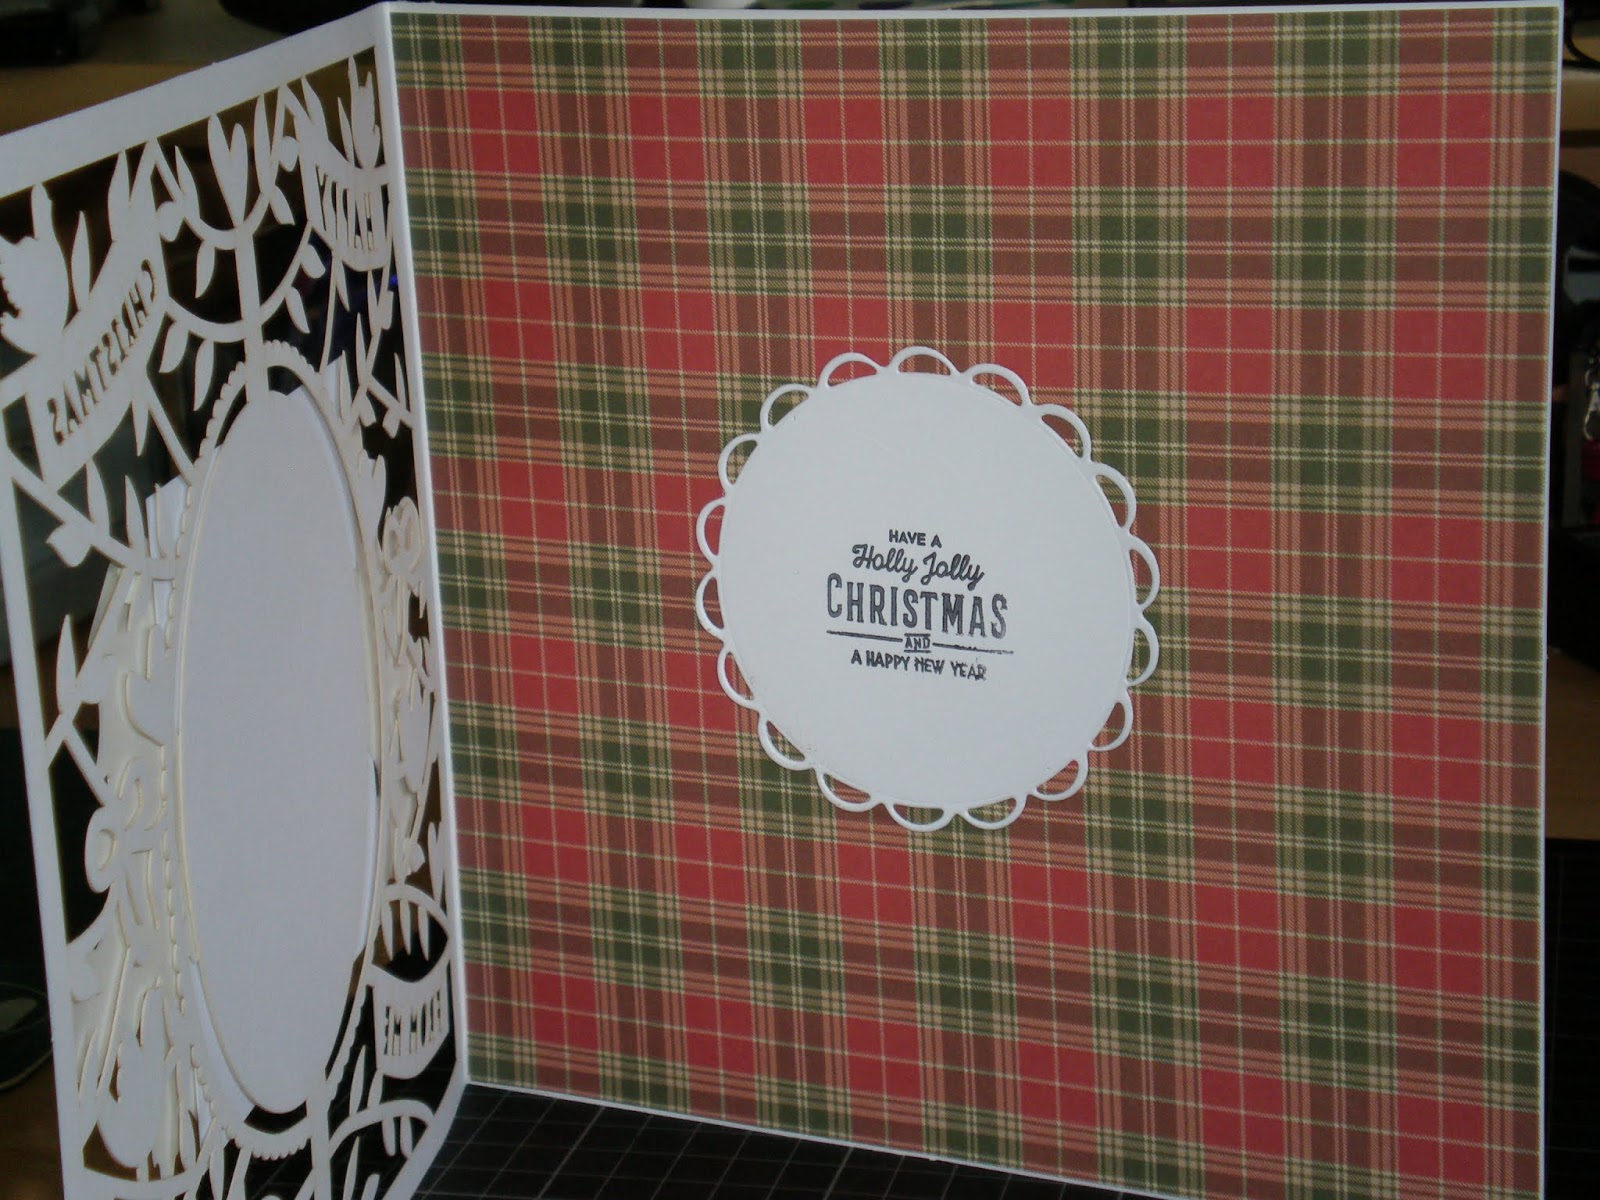
 Having added the embellishments to the front of the card I needed to make an area to right on so I cut a scalloped circle with my Bigshot. These are large 8 x 8 cards.
A great tidy up and 14 cards from the oddments.

I have been checking out a few dies on the Christmas shows on Hochanda and like the Spellbinder sets but they do look a little fiddly. If anyone has seen them or tried them out please let me know how you got on.

Happy Crafting 
Dee

Monday 24 June 2019

Recycling a Ribbon Reel

Hi Crafters

Yesterday I finished a reel of ribbon, you know the large Christmas ribbon about 5cm wide.
I threw out the reel in the recycling bin as it is all cardboard. Then today when I was passing it, I thought I must be able to make something with that.
And here it is.


A pretty pin cushion for the desk, recycling the ribbon reel and using up a few bits of fabric and lace from my stash.
The centre fabric, base and top was put on with Pritt stick, whilst the lace was added with my hot glue gun. All in all it took about 1.5 hours, so a great crafting session. 

I will be thinking about recycling items for future projects, I always keep my cereal box card for covers etc, but this is the first time I have recycled a reel.

Any questions or suggestions for recycling projects please subscribe by clicking on the follow button at the top of the page, you can then leave comments.

Happy Crafting
Dee

More Cranes for Hiroshima

Hi Crafters

Just a quick post today as I am off to line dancing and then preparing for a craft group tonight.

On 30th May I posted about the cranes I had been making to give to a friend who was sending them to the Hiroshima Peace Museum.

Well we decided, when we got together again, to hold a craft session for any other ladies who would like to learn to make the cranes and make one for themselves and one to add to those being sent to Japan.

So on 31st July we are holding a craft session at the Chapel in Pawlett, 2-4pm.

We can take 20 ladies and the cost is just 50p for materials and a cup of tea, as the crafting is all about the cranes. Hopefully it will inspire everyone to help us send a good number to Japan. 

The cranes are folded origami style and represent longevity and peace. Each day 1000 are burned in the name of peace and in memory of the little girl who believed if she made 1000 cranes, she would get better, but who died of Leukaemia before completing her target. The girl had lived in the area of Hiroshima when the bomb had been dropped and developed Leukaemia a few years later. 

Such a touching story and one that had served as a reminder of the need for peace throughout the world.  

I will let you know how we get on.

If anyone would like to join us or send cranes please email me for more details 

The large white crane at the head is made from standard copy paper as a template, the brown and cream one next in line is made from a 6 x 6 paper and the others from 4" squares.

Dee

Sunday 23 June 2019

More Trinket Boxes

Hi Crafters 

Last week I attended a Craft group in Bridgwater to demonstrate and make the small trinket box with the ladies, who had chosen this to make, from a small selection of projects that would fit their 2hour craft evening.

Thank you to the ladies who made me very welcome, and hopefully enjoyed making the 3 drawer box, and for Angela who sent me a picture of the finished boxes.

I love the fact that whenever I do a workshop, all the projects look so different, even though we are all making the same.


The box I made will be added to the craft items sent to the winner of the draw, which you are automatically included in , if you subscribe to my blog during June or July. You can do this by clicking on the follow button at the top of this page.
Dee


Wednesday 19 June 2019

More Ribbon & Chiffon FLowers

Hi Crafters 

I have been making yet more flowers. This time from Chiffon & Ribbon.

Having recently attended a chiffon flower workshop with Carolyn Stroud at Woolavington, it re-lit my enthusiasm for the chiffon and ribbon flowers I have made.

I learnt some useful layering techniques and also sewing beads for the centres rather than a larger embellishment I have used in the past. There was a great selection of colours for the chiffon to use on the day, and we had some tips on sourcing the materials etc, so all in all a great morning.

This is one of the flowers I made on the day and it was made using different sized circles. The beads I added at home in the evening.


I love the purple and cerise with just a hint of gold.

Having made some more chiffon flowers I sat and sewed some ribbon flowers whilst watching tv.
I previously posted the original ones I made using 50cm of chiffon ribbon
The recent makes take it a step further and use 3.5cm wide and then an inner set of petals from coordinating ribbon 2cm wide, with pink and white stemen


Next the same ribbon but with a centre of tiny flower cluster of pearl centred flowers and dark pink & grey stemen.

I think this is my favourite.

I still have a couple of designs in my head with these ribbon flowers, I will post them as soon as I have made them 

All of the flowers have a circle of felt sewn on the back and either a bar brooch pin, crocodile clip or hook clip added
They can then be used to decorate bags, as hairclips or corsage brooch.
 Dee

Tuesday 4 June 2019

A New Journal _ Using Surplus Envelopes

Hi Crafters

Another wet afternoon, so another project.

Having made the Vintage Journal I thought I would try something more straight forward with a new paper pad.

My first attempt was very messy as I was not following a particular pattern, so having scrapped it, I planned the next one a little before commencing.

First I layered 2 A5 brown envelopes together and covered them with papers from a Paper Boutique Pad of 12 x 12 papers.

I was quite happy with the result and decided they they would hold photo mats nicely.
So  I added some white card mats and used round tags glued to the top as tabs.

Next I took an A4 Black envelope ( I had a set of A4 of Monocrome cards and Envelopes and these were the leftovers). I folded the envelope in half and cut down the flap in the centre to have a pocket with a flap on the right side while the left side I covered in matching papers from my pad and made a pocket.  
I also covered the front and back in the pretty papers and used some tape for the spine section to strengthen it.


I then made a mini book to add to the pocket and decorated the outside with matching papers tied with bakers twine with added beads  The right side now has a large pocket to hold photographs Journal tags, or memorabilia, plus the envelope pockets with photomats, whilst the left side has a mini  book with 8 sides


Lastly I made an elastic button closure to hold the folder together. I then spotted 2 pretty blue 'Swan' paperclips I had made and clipped them on the elastic 
Put it altogether and I have a very pretty little journal/memory book, which I will be putting in my Etsy Shop. It would make a great Teachers Gift.


I hope this has inspired you to have  a go
Dee

Monday 3 June 2019

Making Larger Boxes

Hi Crafters

Sometimes when we have finished a project we want to set it off in a pretty box.
Or maybe you have a present for someone that would look better in a presentation box.
The size of the box is restricted by the size of card we have in our stash.

So the maximum gift box most crafters can make with their box maker is 8 x8 and 2" deep, using a 12 x 12 and scoring 2" all around for the sides of the box.

I recently finished a scrapbook and it was 3.5 " deep, as it was Label shape, it also required 8" x 7" to accomodate the book.

So I had to come up with a way to make the depth using 12 x 12 cardstock.

Here is the solution 


You need:
A box maker
3 sheets of 12 x 12 card
scissors, glue and ribbon

Sheet 1 & 2 cut 1" off the width and score 2" all the way around
One sheet as the base and one as the top
Make up the base and lid 
Sheet 3 
Cut into 3 pieces 3.5" wide 
mark the last 1/2" on 2 pieces and attach the three sheets into one long strip, at the 1/2" mark
Put this onto your box make and score as if it was the lid of the box -  at 6 15/16th
Fold over and place back on the board with the fold on the side and score at 7 15/16
Fold over again put back on the board and repeat these two scores 
You will have a little left and you can either cut off  or fold over
Glue the inside of the of the base and then place the strip into the box.
The inner piece will sit proud of the base and the lid will go over it to give you the depth you need 


So now you can make those bigger boxes
Give it a try before the Christmas rush. Yes I mentioned the dreaded season. June is often the month selling Christmas Craft items. 

If you have any question or comments why not subscribe by clicking on the FOLLOW button at the top of the page.

Dee

Sunday 2 June 2019

Resource Sale Yesterday

Hi Crafters

Just a quick post today as I need to tidy the craft desk (yet again).

Yesterday I had a table at a Craft Resource Sale in West Huntspill.
It was a great opportunity for crafters to sell off their excess tools and materials (we all have lots in our cupboard)

It ran for two and a half hours, and whilst I did not sell a lot I covered my costs, met up with old crafting friends and spoke to new crafting companions. I gave out a couple of cards with my details and this blog address, so overall it was a good day.

It would also be a good fund raising event for groups, make sure you give it plenty of publicity and ask stallholders to publicise it as well because getting buyers is as important (if not more) than getting stallholders. A successful event means you can hold future sales and build on the work already done.

Happy Crafting 
Dee   


Saturday 1 June 2019

Something Different - A Shabby Chic Journal Folder

Hi Crafters

I loved making this Shabby Chic Folder. I saw an idea on YouTube to make a folder with an envelope (an opportunity to recycle) and just started with the envelope and let the ideas come to me as I went along. There is no template for the project as it was created freely as ideas flowed.

It used some new techniques that I have been meaning to try.
First of all I needed to age some pages from an old book. I used coffee to do this. Be sure to use plastic gloves as the coffee will give you the look of nicotine stained fingers otherwise.

Having folded the envelope to give me the leafs I wanted, I  let the papers dry and then stuck them on the sections of the envelope. I distress inked the edges and then decided some plastic tape (bought in Germany whilst on holiday) would look good on the edge and make it stronger.

I then chose some vintage prints to cover the sections and add colour, these were also distressed around the edges to blend in.


Next I looked at items to add to the folder


As you can see I made several bits and pieces 
Starting from the top left:

  • A notebook made with covered stained pages. The inside is made from standard copy paper folded and sewn into the case
  • A smaller notebook has been made using the strips of paper cut to make the bigger notebook and this is underneath next to the pink tag
  • At the back of the folder there is a vintage notelet/envelope.
  • In the bottom front of the picture are 2 covered paperclips
The way the envelope is folded there is a secret pocket in the front, as the flap is actually a double pocket
I have placed the small notebook in the front pocket and the large notebook in the main left section of the folder
On the right side sits the 'post envelope' and the flap holds the 2 paperclips


The folder is held together with ribbon that is stuck to the back of the folder to secure it.

Anyone subscribing to my blog during June & July will go into a draw and the winner will get this folder complete with contents. 
I will also be adding other items I make during the 2 months to make an interesting parcel.

To subscribe just click on the FOLLOW button at the top of the page
Dee