Followers

Saturday 31 December 2022

Happy New Year

 Happy New Year to You and Your families


Let’s ring out 2022 and say hello to 2023 and all the new possibilities with your crafts.

I hope you all had what you wished for from Santa and here’s to a

 Happy and Peaceful 2023


Who knows what I will be crafting in 2023 but I will be sure to share them with you so keeping dropping by and lets keep sharing our ideas and enjoying our crafts.

I did get some craft. Items from my Santa list

Magnetic sheets for my new dies
Das Clay to try out some vintage embellishments for decorations and boxes.

So here are a couple of makes for 2023.

I also want to do more sewing but getting the time to set up and sew is not so easy.

Also a big Thank you to all the great artists and crafters on YouTube, Pinterest etc that so generously share their time and makes with us. 

See you all in the New Year

Dee


Thursday 15 December 2022

Pretty Christmas Decoration

 Another Christmas Decoration


This hanging Decoration is a great way of using your dies in a new way. Another project found on the web that I just had to try. 

The die used for this project is Spellbinders Bow die. You use one of the bow sections which has a small round at the end with a hole. Cut 4 to make the base of this decoration. The 4 sections are then put together with a brad. You can use ribbon threaded through the top section for hanging. I have then added the roses and ribbon bow with a hot glue gun and a tassel has been attached to the brad at the base.

Warning: A little patience is needed to. Make this as you need 4 die cut bow sections each has to be poked out to make the clean lattice look, although the Spellbinders die is very good at the lattice cutting. Having said that I loved it so much I bought another set dies so I could cut 2 at time. 

Now I have 2 sets I cut another decoration with gold card. This time using the smaller bow. I cut 6 sections to make a shorter more round version. 
I decorated with red rose, cream ribbon and pearls and added a gold dangling star.


Take another look at your dies and see if you have a die that can been used in other ways. Lots of us have bow dies, lets make the most of them. 

Happy Crafting 
Dee


Saturday 10 December 2022

Decorations for Christmas

Christmas Lanterns 


We are all getting busy with the run up to Christmas so my posts are less frequent, but here is one for you to add to your decorations 

This is not my own idea I got it surfing the net one day and decided to have a go, and i really liked the finished project, so I bought some tassels to finish them . 


For this project you will need:
1 piece of wire approx 8” 
Some beads
Paper to cut 9 pieces 10” x 3/4”  and 2 x 2cm  circles. This is best about 100-160gsm and heavier and it becomes difficult to shape.
Ribbon for top loop and tassel (optional)

Cut your pieces of paper and then cut each one in half so that you have 18 pieces 5” x 3/4”
Next make a hole in each end about 1cm from the end and half way in.
Cut 2 x 2cm circles and add a hole punch to the centre
Next take your wire and thread onto the wire your top bead or decoration then one of the 2cm circles with the pattern facing up. Bend the top over to make the loop and wind around the wire to finish smoothly
With 6 strips of paper at a time thread them onto the wire below the circle, then add another 6 and the last 6.
Once all the strips are threaded on with the top circle curl them around and thread the bottom hole onto the wire. The papers will curve to allow the wire through and once all the strips are threaded top and bottom add your second circle face down this time .
Add any bottom beads before bending the wire into a loop and securing it. With this process there will be a natural bending of the papers and shortening of the sphere as the wire and beads push up. You can determine the size of your circle before securing the beads.
If you want to add a tassel it can be threaded into the base loop before securing or added with some thread afterwards.
When this is all done you will have a bunch of papers. Gently slide them around to form the lantern.

You can make these out of classic papers, Christmas colours and glittery papers or silver and gold. I have chosen gold matt prints for a classic look then brightened them with the red tassel. I can use them to decorate the tree or hang in the room. 


As you can see I have decorated the lanterns with a large pearl bead at the top and 3 graduated ones at the base.

Happy Crafting 
Dee 


Friday 25 November 2022

Rustic Kraft/Leather look Star

 Continuing the Star theme for Christmas

Kraft Card Star

Here is the latest star decoration I have made. I mentioned it in an earlier post and have just managed to get it finished.


I love the finish on this card and though not as masculine a I first envisaged (I just had to use the poinsettia embossing folder) the worn leather look is great and with the hemp tie it has rustic look that would look good in a cottage lounge or library/den 

To make the leathery paper, take a piece of Kraft card and follow the instructions from 

I did this with a sheet of A4 Kraft Card, which I then embossed using my Crafters Companion Poinsettia 3D embossing folder. At this point it did not look much like leather and I decided to use it as a book cover . It was sitting on the desk and I kept looking at it as I went past, before having an idea to pick out the poinsettia with colour waxes. I covered the leaves in a bronze and then the flower petals in red, which really high-lighted the poinsettia embossing and at the same time gave the paper a more flexible leather finish. 

I could still have used it as a notebook cover and it would have been great for a Christmas Journal, but I used it instead to make the rustic/leathery star. I then scored a line from each point to the opposite side, and folded the lines to make the star 3D, and I am very pleased with the finished item. 

A few of them hanging down a string thread would look great against a wall or door.

Bye for now 
Dee


Monday 21 November 2022

Star Christmas Cards ~ Personalised cards

Star Christmas Cards

I am back today with more star cards.
I have really enjoyed making the decorations with the star dies, and now I am onto Christmas cards. I have a few left to make so thought I would continue the star theme.


Robin picture cut from nesting circle die placed on on a silver star and layered with a circle of stars. These have been added to a white card matt that was embossed with swirl design


Lovely winter scene with rabbit, added to a silver star with inner white and silver trim, and finished with the star circle. The star, picture and circle of stars  is my favourite combination. This one has been added to a white matt layer that has been embossed with Crafters Companions 3D Poinsettia embossing folder.

Then I had an idea to personalise these cards, by making the picture in the centre a photo from my collection. 


This a photo of 3 generations of men in the family. As it includes a brother-in-law and nephew it will be perfect for the 2 families for their Christmas card. It would be lovely made with a picture of grandchildren etc

I made another one with an oval picture and some Christmas fauna, and this is on a Christmas paper from the First Edition pad of 12 x 12 papers. I prefer the clean white with circle finish, but must remember that others may like a little more colour.


Lastly I used the same ideas to make a couple of decorations

The first was using acetate that I found in the box of crafting goodies at my craft group.

Spotted acetate, silver star, robin picture, and then a star circle in white.


Large 8” white star with family picture in centre, alaurel leaves around and edged completely in blue gems . This will take pride of place over the bookcase. 

Well there are my selection of star cards and personalised decoration, hope it has given you some inspiration. 

Happy Crafting
Dee

Wednesday 16 November 2022

More Star Styles

 Christmas Stars

Embossed and 3D Stars


Using my CreativeDie Designs 5 sided Star die set:
My set of 5 star dies with the largest 8” x 8” has been used to make the stars that can be hung individually to make a decoration, while the smaller sizes can be used to double up and make a fuller decoration.

I wanted to see how many types I could come up with just using card and different embellishments.

So here we have a single Star cut from Cream card with gilding flakes added, and a rope bow in the centre. I finished with a lighter colour rope for the hanger.


Next we have a double star and this has been made with medium size white card star, onto which a star has been added in a Christmas card cut in the next size down in the nesting dies .
A smaller version has been added to the bottom with reverse card stock . A few of these grouped together would look lovely over the book shelf or hanging from the ceiling.


The third design is another single star cut in plain white card. I then cut a swirl from a SIZZIX die, and cut it up before adding to the star (after I had shaped it). Once the swirls were dry I added  a pearly glue, and dropped a little  bronze glitter glue on the ends of each swirl. I left it all to dry overnight before adding the ribbon hanger.


An unusual look but I love the simplicity and it would look lovely in a nursery.

The final one to show you is my favourite, probably because I love polar bears at Christmas. 
These stars are cut from a First Edition Christmas card pack the stars have then been laminated to make them more robust and shaped before adding matching ribbon and a white bow to finish the decoration. I have also doubled with a smaller version of the same design. 


There is another style I want to make and this will be made from Kraft card. A single large star that will be embossed and then finished with metallic wax to make a masculine finish. This was a design I wanted as it would sit well in the “Man Cave” or “Office” 
If I get a chance to make  it I will post it for you to see. 

Happy Christmas Crafting 
Dee 


Wednesday 9 November 2022

More Stars for Christmas

 Christmas Crafting

Stars for Cards & Decorations

Phase 1 ~ Trial & Error


Following on front the star garland and decorations I wanted to continue with my Star theme for Christmas.

As yet I do not have a large 8” star die (although its coming soon), But decided I wanted to try some larger stars so downloaded a template from Pinterest which worked well.

I cut a couple of the larger stars and started to compile some decorations to add.
No 1 : A Shabby Chic star with embossed papers on top and decoration.


I quite like this star it has been made by adding embossed paper to the top and then some silver and white floral decorations.  I like the jute ribbon, but for me it is a little messy and needs heavier backing with another piece of thick card, as the gluing of the paper and embellishments has given it a little curl.

No 2: A note paper background with snowflake circle and holly embellishments 


Again, quite nice, I like the tissue paper background, but the snowflake circle is a little too big for me and makes the centre a little messy.

No 3 : I personalised star 


I Love the concept, the picture is 3 generations of men in my family and is a lovely idea that I will adapt for some personal Christmas cards. The background card star has been embossed and then a simple circle of Christmas type foliage added. Still not 100% happy with it but I know I can use the idea and designs are forming.

That is the thing I love about crafting, I am not usually known for my patience, but when I am trying something new I will keep tweeting until I get it right for me. Right for me may not be to everyone’s taste but thats the joy of making your own cards and paper crafts.

Finally I have a star I made at craft group. We had a week of using up items for the cupboard, hence the lovely tissue paper with music notes, and there was some lovely acetates in the box which i decided to use for my star making. 


This is an acetate star with snowflakes with a silver paper star and a Christmas robin with a simple white star wreath. At last I love the simplicity and finish of this star.

I have really got into using the star dies and will be back soon with some other star cards and decorations. 

Happy Crafting 
Dee


Wednesday 2 November 2022

Rustic Christmas White Stars

 Christmas is Here

Amazing Embossed Stars 


Each Christmas in my house I like to choose a theme for the decorations. This year is all about these fabulous Paper Embossed Stars.


I saw some white stars on Pinterest and they were made of vintage embossed wallpaper. So to make something like them I started with making the paper to use and then decided to emboss the paper with Christmas embossing folders before cutting them with star dies. 

I wanted the star to be lightly padded and for the 3D look 2 stars would be put together. 
I had thought I would glue them together. However the glue did not hold well,and even if I used hot glue gun, the edges ended being too untidy for the clean white look I wanted. 
So I ended up sewing the stars together. I was very happy with the finish of the stitched stars and ended up making a bunch of them.

Some were embossed with snowflake some had Christmas greetings and others had lovely 3D poinsettia. 

Once they were stitched I looked at how they can be used. 
I wanted multi-use so I decided to add an eyelet to enable the stars to be hung.Then using Jute string I added a loop to each star. 

Individual stars decorating the front of the cabinet in the lounge


The stars can be hung individually, or added to a length of Jute string to make a garland. I also made a couple of smaller sizes to make a tapered hanging decoration. And of course they can be used to adorn a parcel. 


So there will be stars adorning the cabinets and book shelf on the garland, some will be hung on the tree, and I 
will also be making some larger stars that can be used as a centre room decoration or top the tree. 

I have had some interest in the stars, and so as I am not doing a craft fair this year I have decided to add some to my Etsy store .

I am also looking to expand the theme and make some layered stars that can be personalised, as well as sewing some together as I think they would look lovely in a row on the mantelpiece. 
Check back to see new items over the month

Happy Christmas Crafting

Dee


Monday 31 October 2022

Large Christmas Bows ~ More Makes from my stash

Christmas Makes for Home or Craft Fairs 

Large Bows 

Over the years I have purchased many items in the January sale particularly Small decorations and rolls of gorgeous ribbon for crafting. 

I also own several bow makers which are great for the smaller bows and medium size that you want to add to parcels or cards. But this year as I have been going through my stash, trying to use what I have I thought large bows for decorating in the home, adding to Santa Stop here signs, and/ or gift boxes would be a good item for Craft Fairs. 


I am not doing any this year, due to family illness, but I still like to think about all my craft making in terms of:

what would be fun to make

What makes are suitable for Craft Fairs

What makes would be good for demonstrations or classes

I think the large bows would definitely be something I want to try at a Craft Fair and will make a few different samples to try.

The first one is for childrens rooms or parcels, I think it would be perfect for the bedroom door 
It measures 10” across and in height and takes up a standard Christmas reel of approx 3yds 

To make this styled bow you will need
3yds of chosen ribbon
Some cotton to tie off, (or you could use a plastic tie and cut it)
A good pair of scissors

I have used a wire edged ribbon  
Fold around the ribbon so the end is in the middle until you have the desired size bow.
Then around a couple more times so you have 3 layers and cut off 
Cut another piece of ribbon 20” long 
The odd piece left tie a soft knot in the middle

With the Bow pieces, squeeze the sides into the middle at the centre and tie around with cotton
Using the 20” piece for the tail, fold in half so that the right sides are showing both halves and pinch together at the top lay the the back of the bow.
Then use the soft knotted piece to tie the three pieces together securing tightly at the back and trimming the ends to sit within the bow.
Once everything is together  pull the bow sections out and shape nicely.

If you need to see this on a video there are several on YouTube but I found the following the easiest to follow but I used cotton instead of ties 


I made 3 bows of various sizes, but if I was going to take these to a Craft Show I would probably stick with a 6” and 10” bow 
To display them I would use an A5 or A6 sheet of card and lay the bow on the card stitching it down just under the centre knot.
So I have gone ahead and done a couple to show you .


Once attached to the card they will stand up easily in a basket 


This was the 10” bow on an A4 card

Below is the 6” bow on an A5 card ~ stitched on the same way.


As they take a lot of ribbon I would sell the large for £2.50 and the medium for£1.50, although if you used more expensive ribbon you would need to charge more, but a selection of prints and ribbon, sizes and price offer the buyer a good variation. 

Back soon with some Christmas Stars that really stand out

Dee


Wednesday 26 October 2022

Gift Bag for my Luxury Cards

 Luxury Card Gift Bag 

Presenting your crafts

Although I have finished my Christmas Stash posts, I thought I would share a gift bag I made to put the luxury cards I made and shared in my last post.

I could have made a box but having watched a video on YouTube from Sam Caldcotta, showing how to make her slimline envelope gift bag , to present  her special cards, I decided to adapt it for my luxury cards.


I used 2 pieces of A4 white card 
A piece of acetate
A couple of pieces of silver card to go over the the top 
And silver ribbon that matches the cards. 

I cut the A4 card down to 11” x 8..25 and then scored the 2 sides and base of the A4 on both pieces at 1.5” . Fold and bUrnish the score lines.
On one piece I cut a section out in the centre of the scored area and added acetate to the back of the card (this is the front of the bag)
As you can see I added the lurex ribbon around the edges to finish it neatly and decorated the corners.

On the front piece I cut out the bottom right and left square 
On the back piece I just cut up the score line on the bottom and left and right square until it reached the score line.
Place the two bottom flaps together and glue and then fold in the corner flaps and glue down
Next glue down the side panels making your gift bag
The silver tops I cut at just under 8” long so they fit the top of the bag, and 1” to 1.25” wide
Score at 1/2”. Cut two and add them to either side of your bag
When they have dried mark 2” in from both sides and in the centre of the silver strip and punch a small hole ( I used my crop a file but you can use any hole punch you have). DO this both sides and you have the holes to add your handles. I used the other style of ribbon used on the card and cut 2 pieces approx 11” long. 

This bags neatly displays your pretty cards and offers an opportunity to gift your cards as well as give them to individuals. 


I then added a tag giving the contents of the bag and attached it with matching ribbon.

If you want to see a video on how to construct this bag here is the link to Sam’s video and while you are there why not check out her latest videos which includes her newest die and stamp set for a great pop-up card 


Happy Crafting
Dee


Sunday 23 October 2022

Using up your Christmas Stash

 Last pick from the Christmas Box 

Project 4 ~ Luxury Cards 


Well here we are with the last delve into the Christmas Box to find something to use for the final project this month ~ using up your Christmas stash.

Sitting on a tray in the box were 6 decorations purchased in the January sale a couple of years ago. I love to pick up bargains and add them to my stash when they are a great price and these were less than half price at the time of purchasing. I also have lurex ribbon that I buy each Christmas from Hobby Craft as they have all the classic Christmas colours for a £1 a roll .

So i gathered the items onto my craft desk and thought about how to use them. 

I decided to make luxury cards. 

To make the 6 cards I used:

9 cards and 6 envelopes 5” x 7” from Card Craft 
12 foot of ribbon; in the end I used 6 foot of the lurex and 6ft of the soft silver organza with a smart edge. 
The 6  wire and pearl tree decorations

I also used my Tim Holtz stamping pad and Papermania embossing powder in silver.
Hot Glue gun 
Embossing heat gun

First I used the 3 spare cards to cut down and make the layers to add the decorations
For this I cut them in half and then cut 2cm off the top edge and one side edge
Next i wrapped the ribbon around one of the cards to get the placing for my greeting. The ribbon is secured with sellotape on the back 


I placed the 6 layering pieces onto the Stamping platform one at a time and stamped with embossing ink, (one at a time) and then added the embossing powder. When I hade them all stamped I used my heat gun to emboss the greeting.

Then I added the ribbon to each pieces 
When this was all done I added the trees using my hot glue gun. The glue was placed down the centre trunk area and an extra amount on the bucket at the base. 
One of the decorations had lost its bucket and rather than leave a piece of metal that could catch, I made a little cover with folded ribbon and hot-glued it over the end.

With the topper complete I added each one to a base card with dimensional stickers to lift them a little off the base card. 

The end result is this rather luxurious classic silver and white card that can be used for anyone. I will line the inside for a quality finish. I am really pleased with the cards and these will probably go in my Etsy shop, as I will be adding a few items for Christmas this year. 


These cards really did use up some of my Christmas Stash (still lots available) and have given me a little nudge towards Christmas crafting. 

November I will be sharing some of my Christmas makes so be sure to pop by every now and then and check them out. 

Happy Crafting 
Dee

Sunday 16 October 2022

Christmas Origami Decoration using your stash

 Number three Christmas Craft Using your Stash

Origami Decoration


This decoration is quite simple folds and can be put together quickly. It is made with 2 squares of paper and the most difficult part is putting the two pieces together as it uses no glue.
It is a great way of using up your 6 x6 Christmas paper pads and any beads and threads that will help add a great finish. If you are struggling to follow my written instructions you can follow a video by going to:


I have used 12 x 12 oddments from my Christmas box as well as some 6 x6 pieces from the Sara’s Signature “‘twas the night before Christmas” pad.

Take 2 pieces of square paper, for all of the above I used 6”squares, and I like a contrasting top and bottom, but that is a personal choice you can use print or colour for both. 

Fold each piece in half, unfold and fold in half the other way. Unfold again and turn over before folding diagonally.


Fold in so it makes a smaller square.
Next bring up one of the closed edged sections, so that you have a triangle facing up make sure it is central and place a pencil or something into the triangle up to the corner tip carefully, before pushing the centre fold down evenly lining up the centre sections.


Do this on all the folds, and finish leaving the same amount of folds on each side.

Do this with both pieces 
Unfold and put a small hole in the middle where you can thread a piece of cord or ribbon through the to hang the ornament add a bead to decorate and hot glue the ribbon down on the inside of the top piece
Make a hole the same in the bottom section and add a tassel or beads to decorate.

Now you are ready to put your lantern together .


Fold the two sides back up and lay flat on your craft mat. 
Where there is a long tail slip it under the half fold of the other piece , pinch together and continue round to the next section until all the sections are slotted together . When you get to the last one it will lock in and form the complete lantern. 


I hope you enjoy these decoration and are inspired to have a go yourself.

Dee


Saturday 8 October 2022

Christmas Stash Makes

 Crafting with your Stash

Project 2

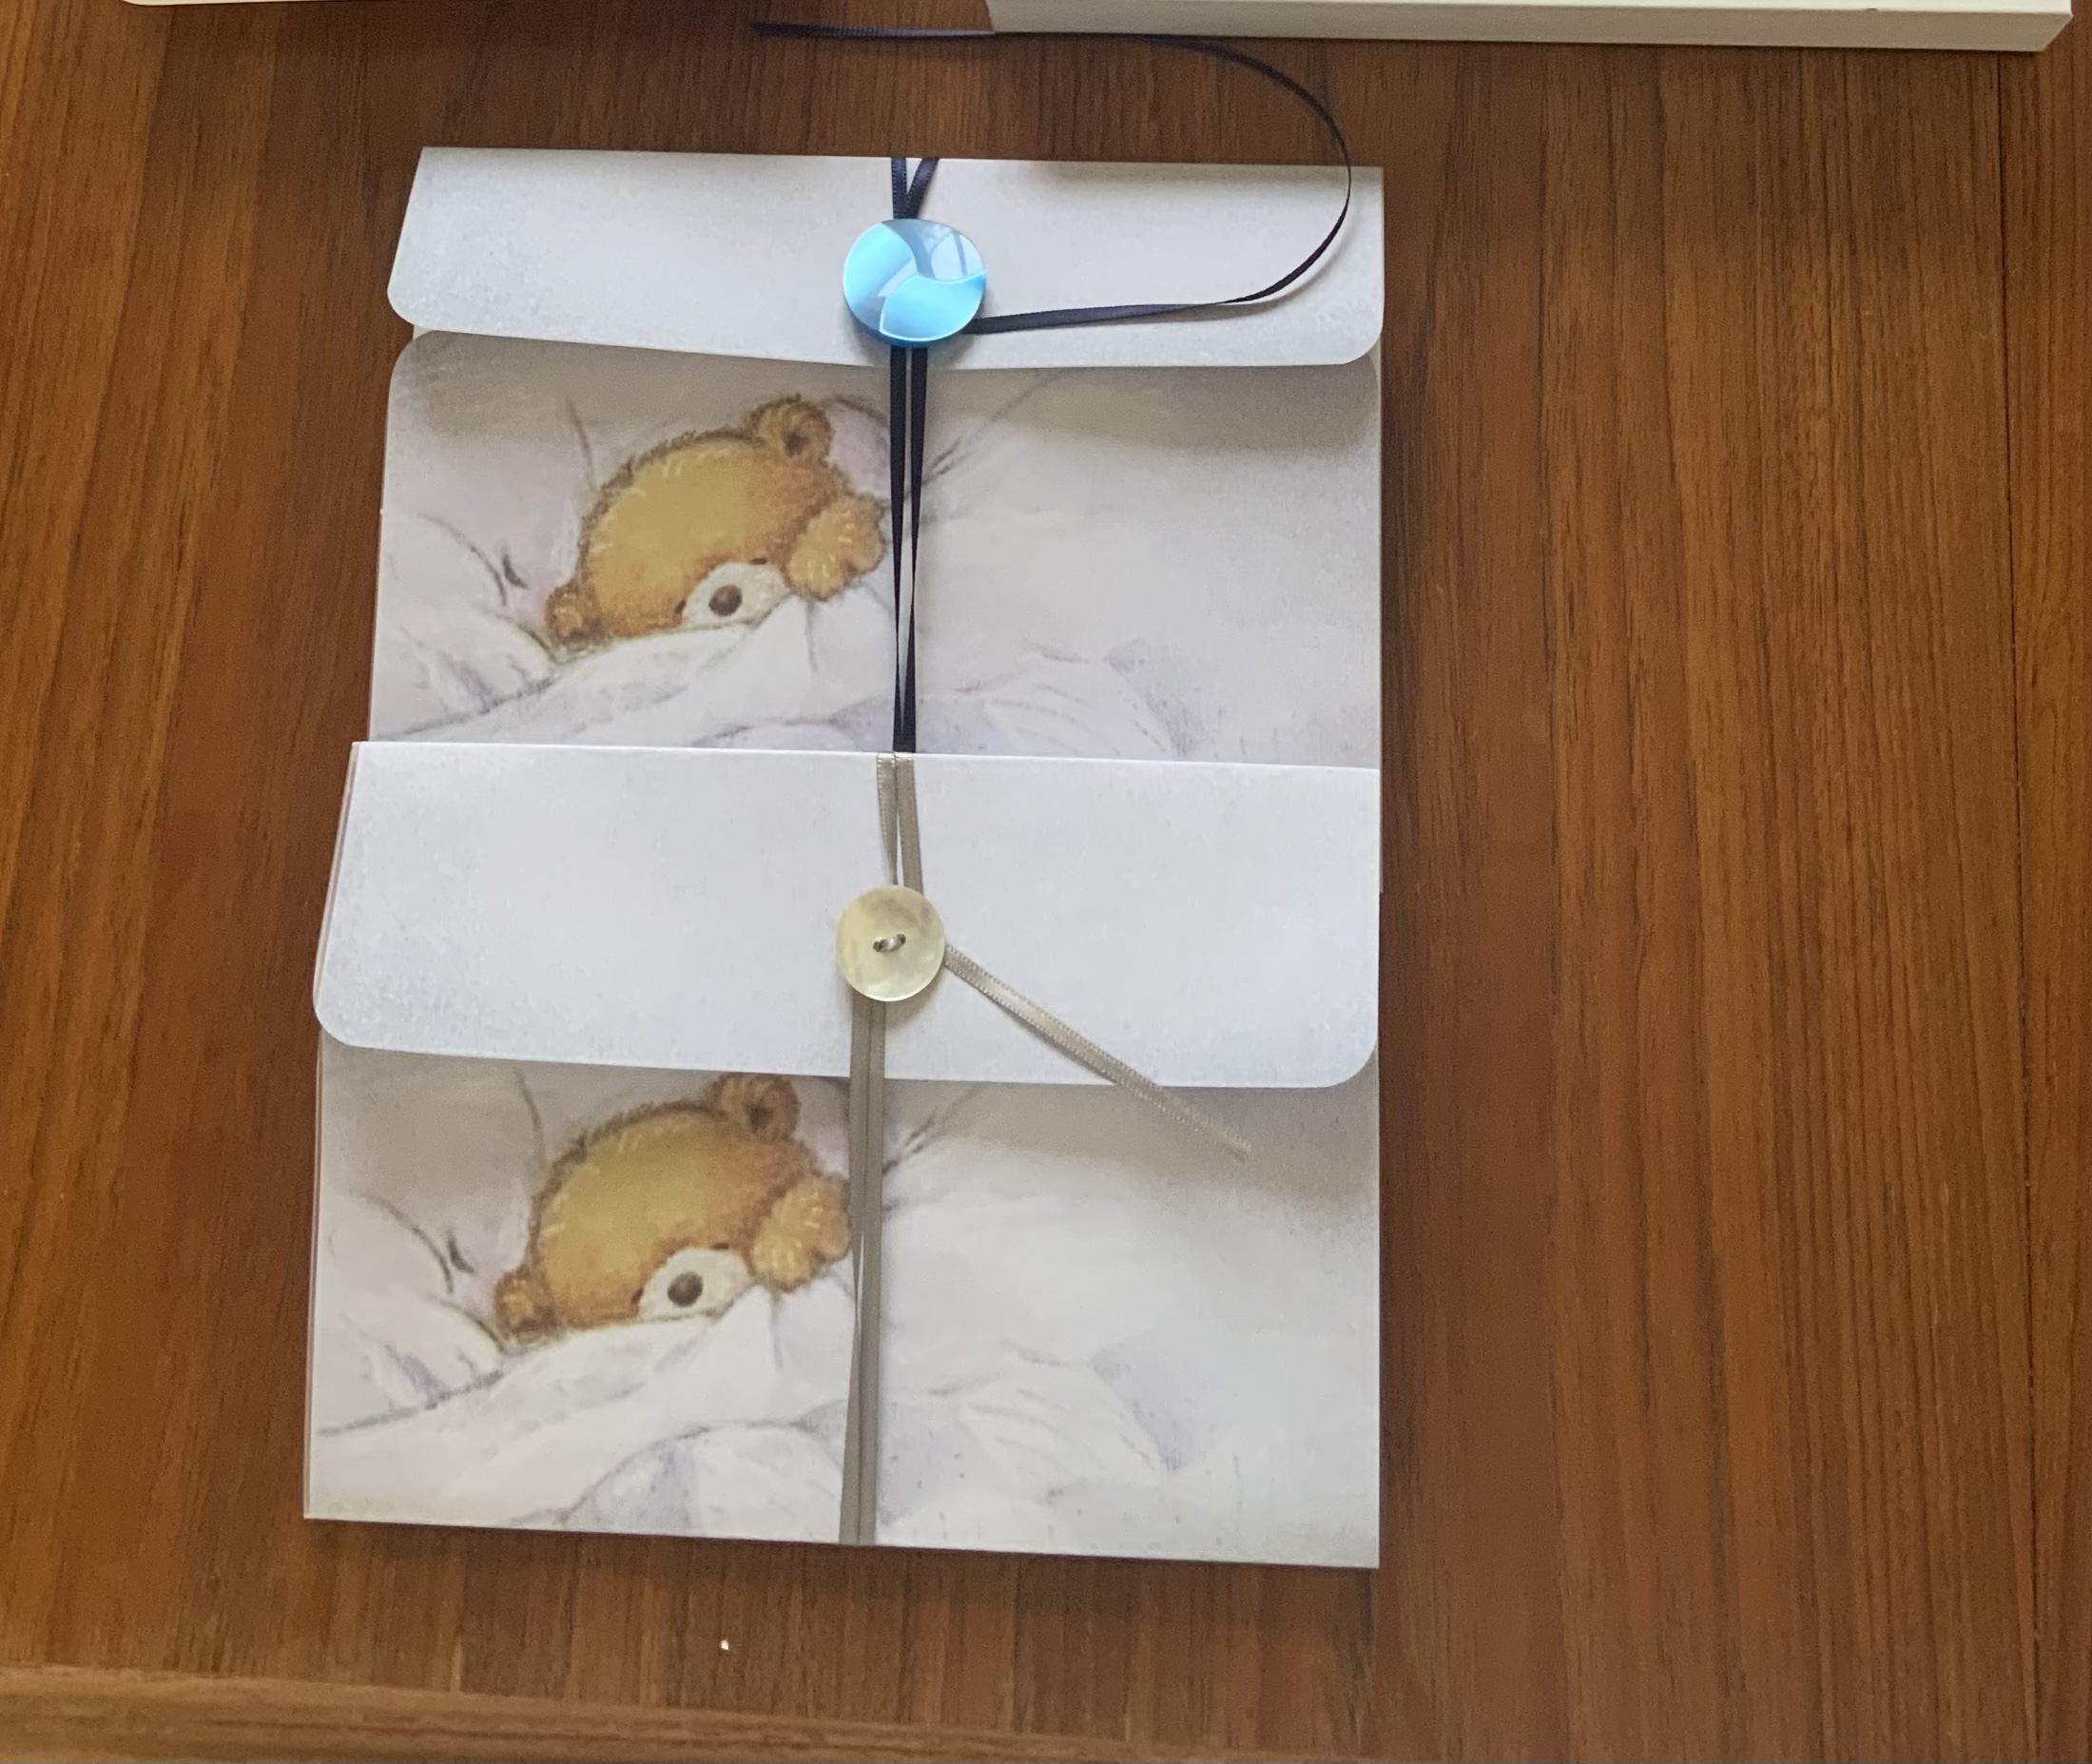
For my next Christmas Project with items from the box I decided to make some table favours.
I checked out a few on YouTube and Pinterest and in the end decided not to use dies to cut hem out as although they were pretty boxes with intricate cut-outs, you were limited to the size of the die. Instead I decided to go back to a favourite style, the self - closing pouch box. I had templates using 12 x 12 papers and then had to adjust the sizing for the small size I required.

This was a very useful exercise as not only did I learn that the basis of this box required a square centre panel to make it work but that instead of making the box with 2 sheets of card I could in fact work it out to are from one sheet.

As well as the  3” favour box I am showing, I can make cute little 2.5”, 3.5” , in fact any size up to 5” as this fits onto a sheet of A4 or 12 x 12 card.
As I wanted to use my Paper Tree Christmas pad (8 x 8) the 3” box left me enough paper over to make a name plate card, which elevates the project, so I have used papers from the Yuletide Memories pad. 

I started with a 2.5 as a trial. Made with a piece of 6 x 6 glitter card and inlaid with a piece of paper from the scrap box ( it is from a Paper Tree inset paper pack) 


Before making a set using the 8 x 8 papers.
For each favour and card, cut the 8 x 8 sheet down to 6.5”W x 5”H 
This gives you a strip 1.5” which you could make tags to add names if you wish and a 3” strip that I folded in half to make name place cards.

Score the width at 3” and 6”
Turn and score 1.25” at the base of the sheet and again at 4.25” , leaving 0.75” at the top 
This will give you two 3” squares with a strip at the bottom and top and a side strip that allows you to join the front to the back of the box. 
Mark the bottom of the left square in the centre and score up from the bottom edge to the score line and then from the pencil mark to the outside edges of the square at the top 

You will end up with a bottom ledge marked in 4 equal parts and the side seam
Two 3” squares, one with a triangle (upside down) marked in the centre
A top ledge with 2 sections and the side seam

Next cut up the score lines of the 3 bottom sections cutting a slight V notch, cut away the bottom side seam section
Cut the top in the same way on the centre score line and cut away the side seam section you will end up with this 


I usually corner my top ledges by folding in half and using my corner punch 
Fold and burnish all the score lines particularly the triangle 
Put double sided tape or glue the outside of the side seam and fold together.
Fold the bottom four section in as you would when making a box and glue each section down, making sure to line up the sides so there is no overlap. This box can be opened and filled using the top section. 

You will then have your favour box.


Here they are with the place cards alongside. I have put a hole in the centre of the top ledge and threaded some ribbon. And added some holly or start to the front section of the triangle to decorate but you can use name plates or any form of decoration that goes with your Table settings. This size holds approx 3 Lindl chocolates.

I like to add these boxes to the Christmas Tree with little chocolates inside to be given to visitors over the holidays. 

I hope you will enjoy having a go at making them from your stash of card and papers, they do not require any special dies or equipment so anyone can join in. 


Dee